JumpCloud SAML SSO
This guide provides a step-by-step walkthrough to configure SAML SSO using JumpCloud as the identity provider (IdP) for integration with Afi.
Prerequisites
Before configuring SAML SSO with JumpCloud, ensure you have:
- An active administrator account in JumpCloud with permissions to manage SSO applications
- Access to the JumpCloud Administrator Portal
- An Afi organization account with administrator privileges
Configure SAML connector in JumpCloud
Create a new SAML application
Follow these steps to create a custom SAML SSO application in JumpCloud:
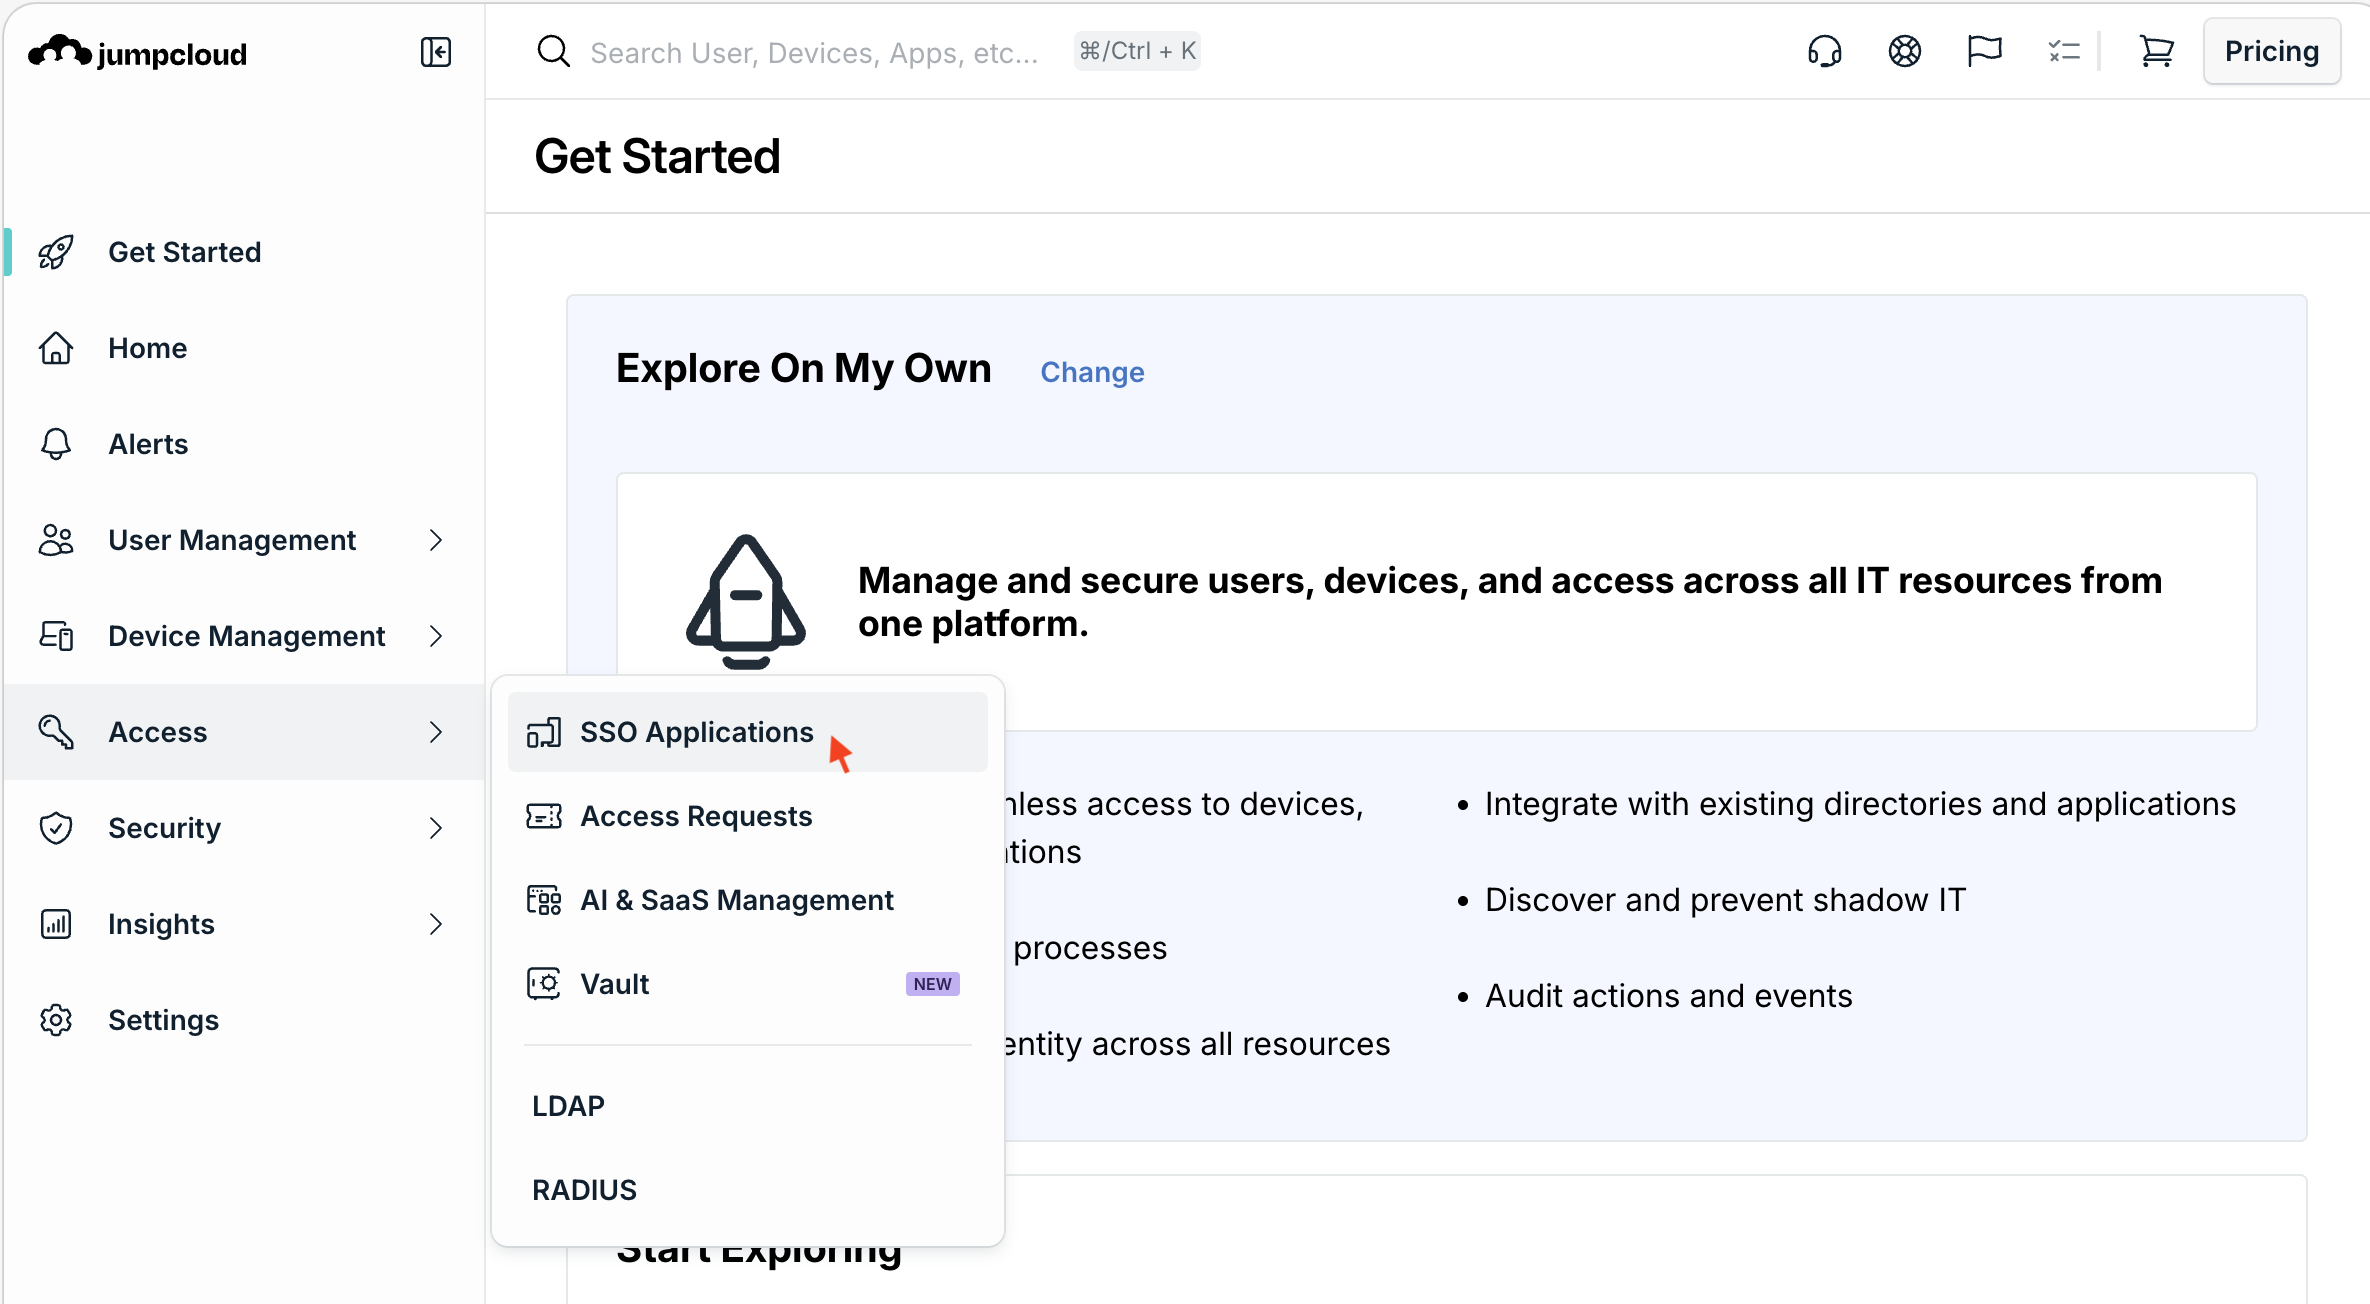
1. Navigate to SSO Applications
From the left sidebar of the Administrator Portal, go to Access → SSO Applications.
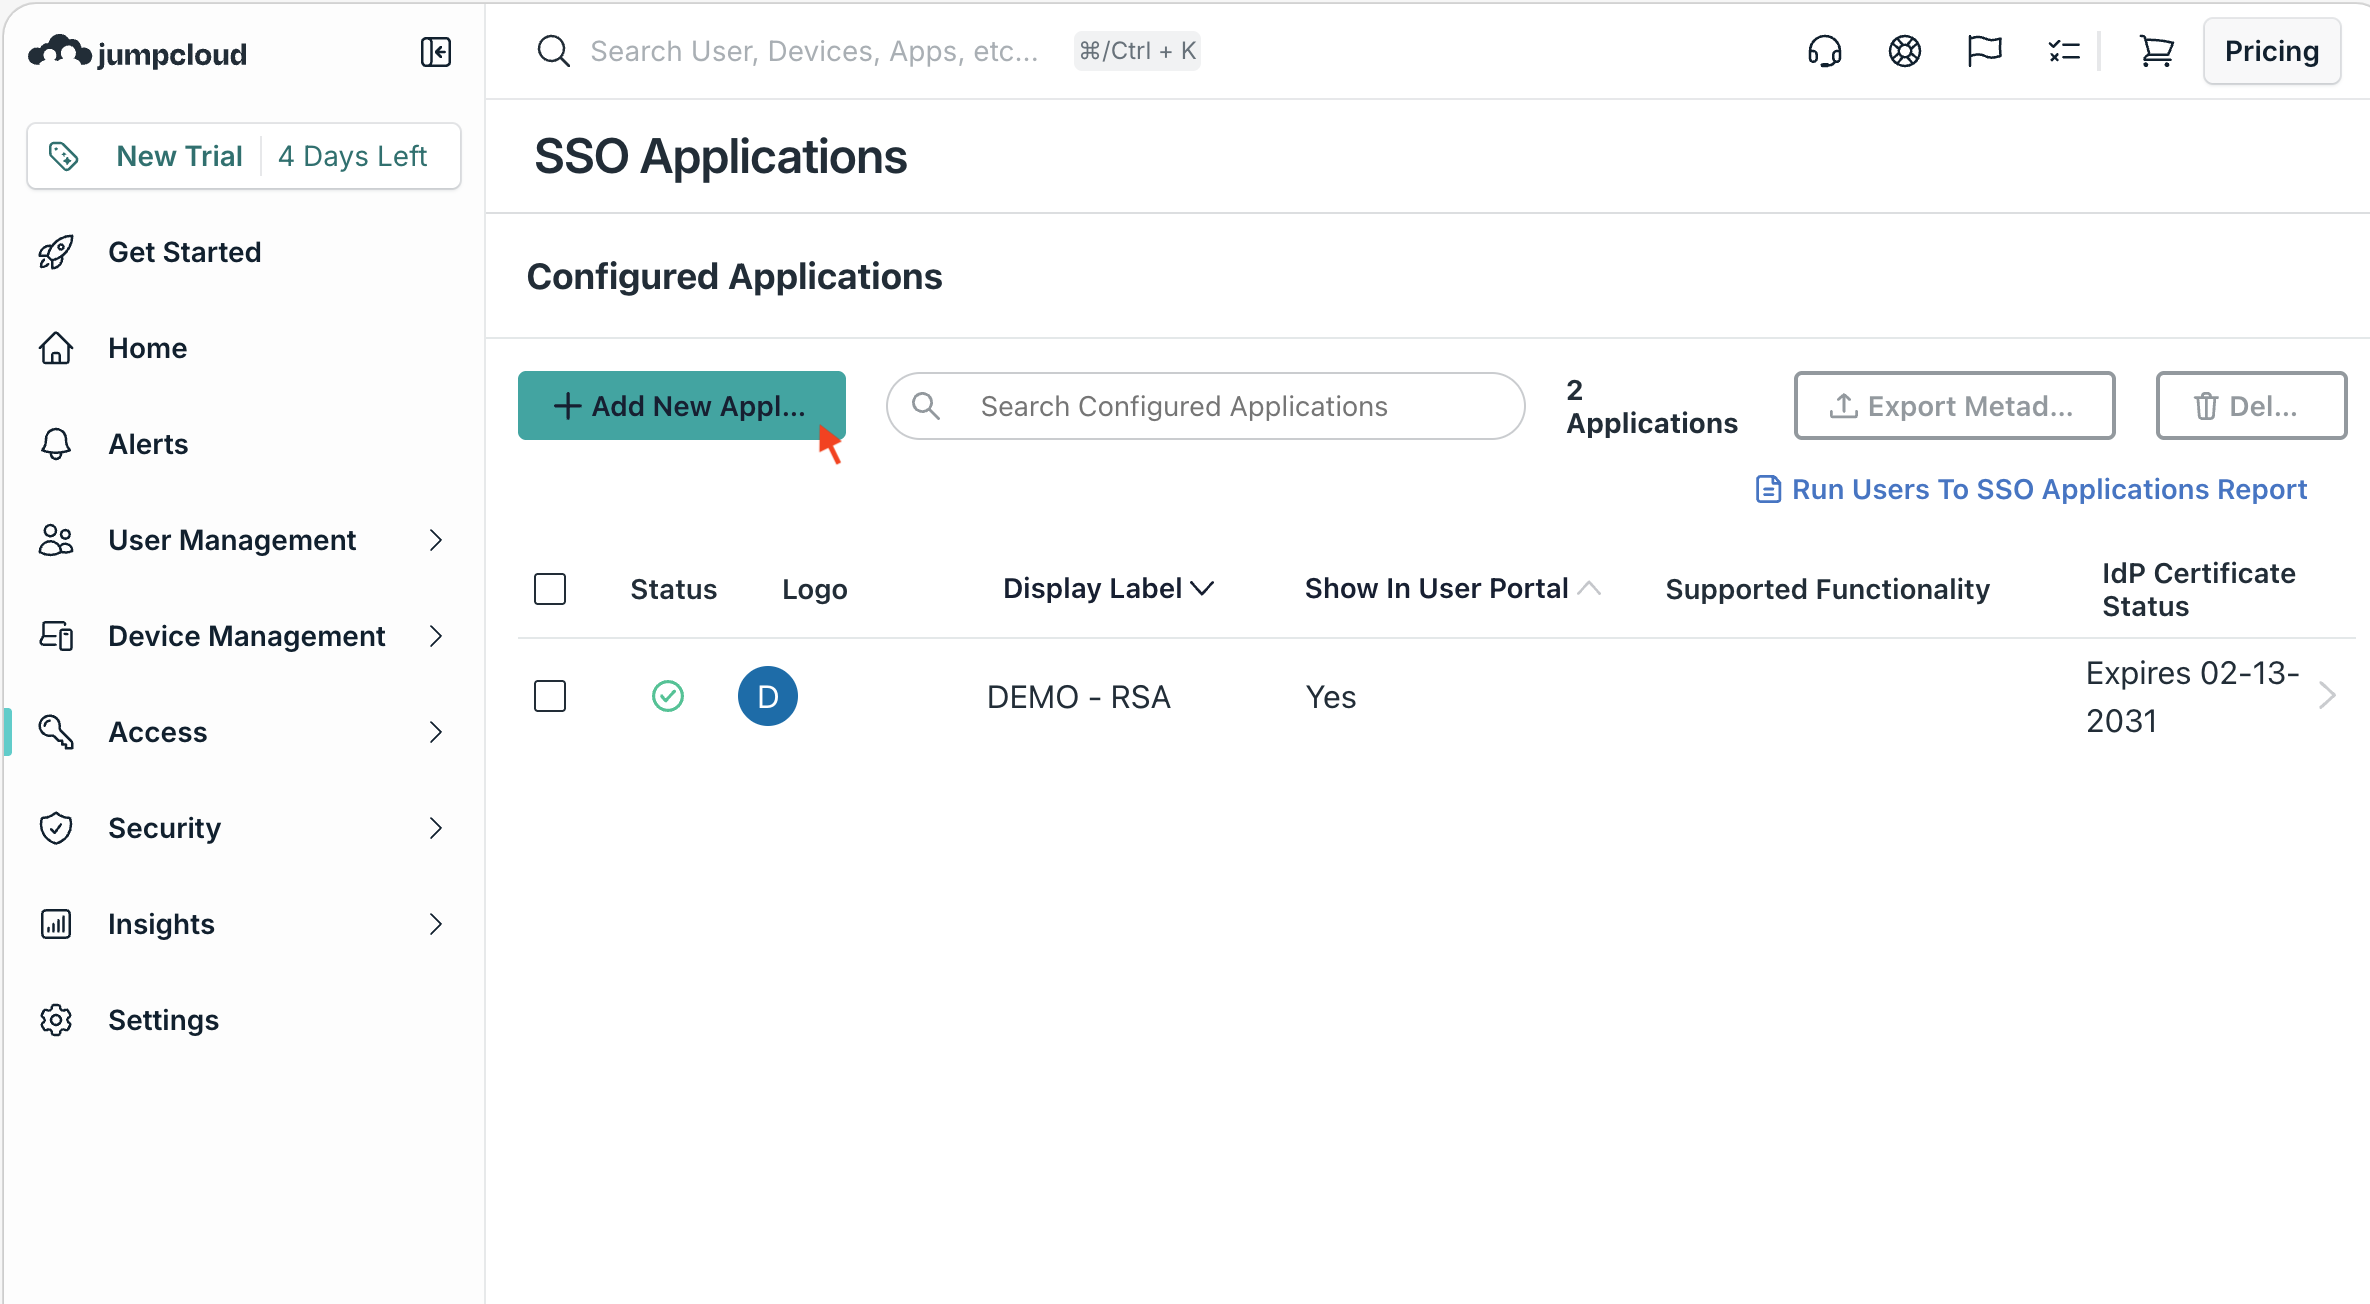
2. Add a new custom application
Click the + Add New Application button and select Custom Application from the application catalog.
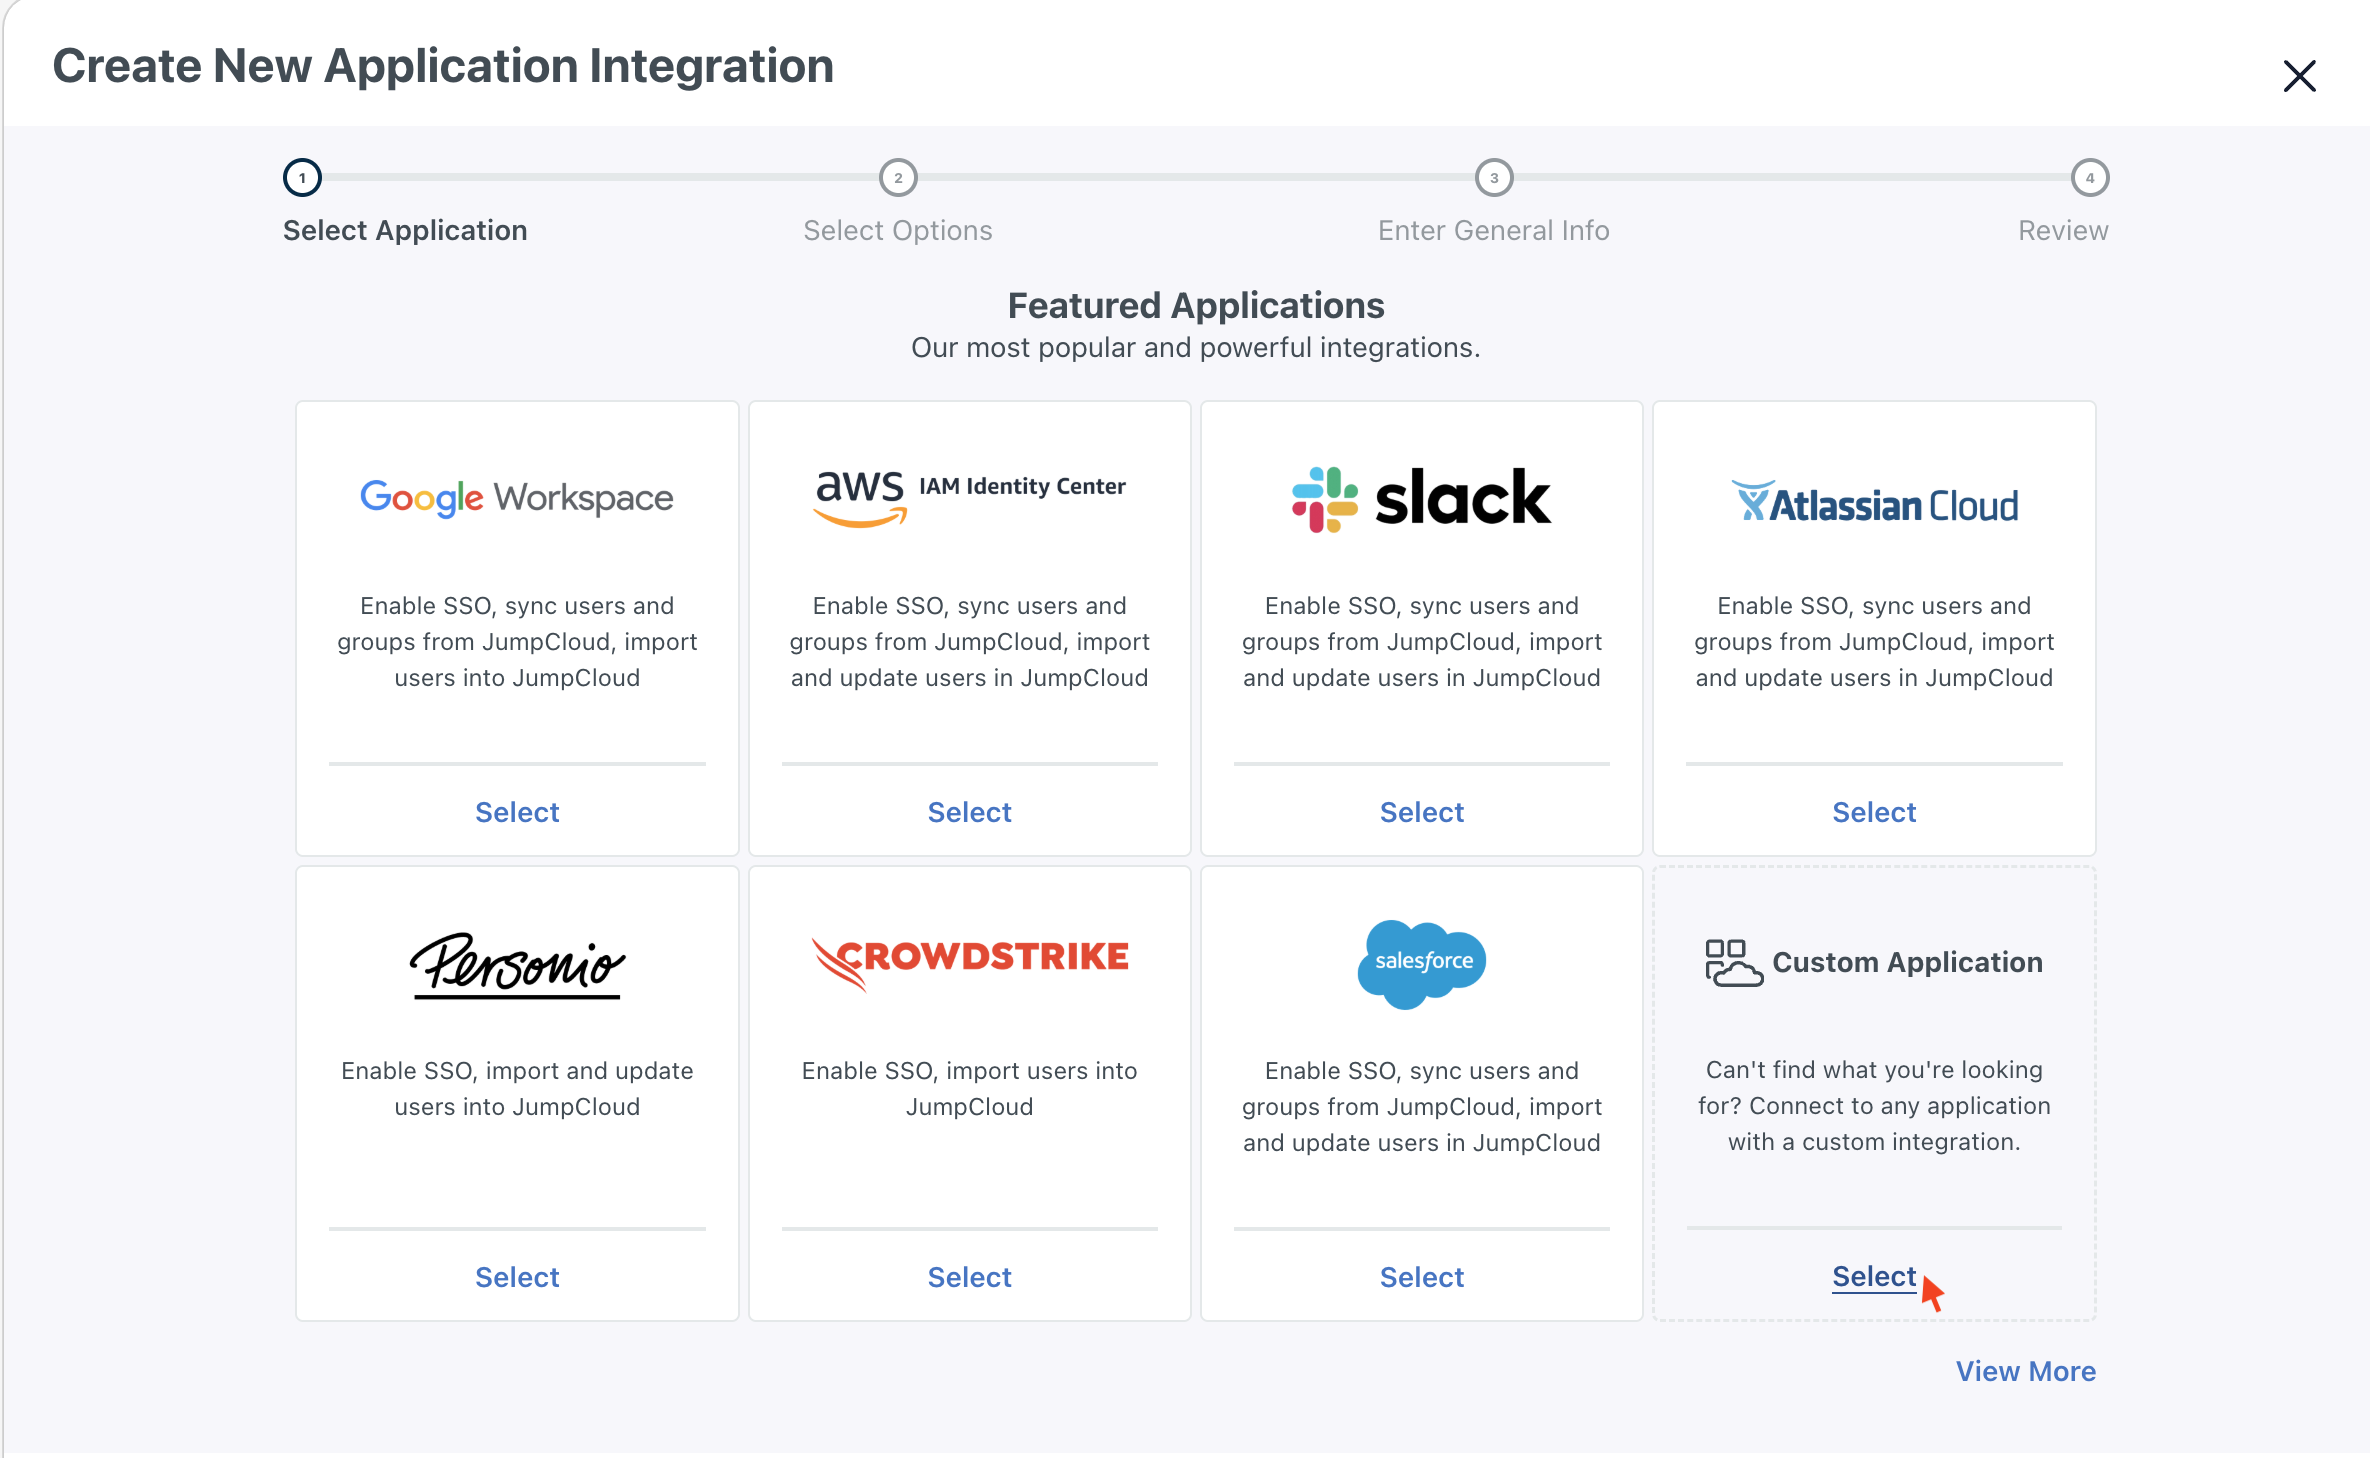
Click the Next button to confirm your selection.
3. Enable SAML SSO feature
Select Manage Single Sign-On (SSO) from the list of features. In this section, choose Configure SSO with SAML.
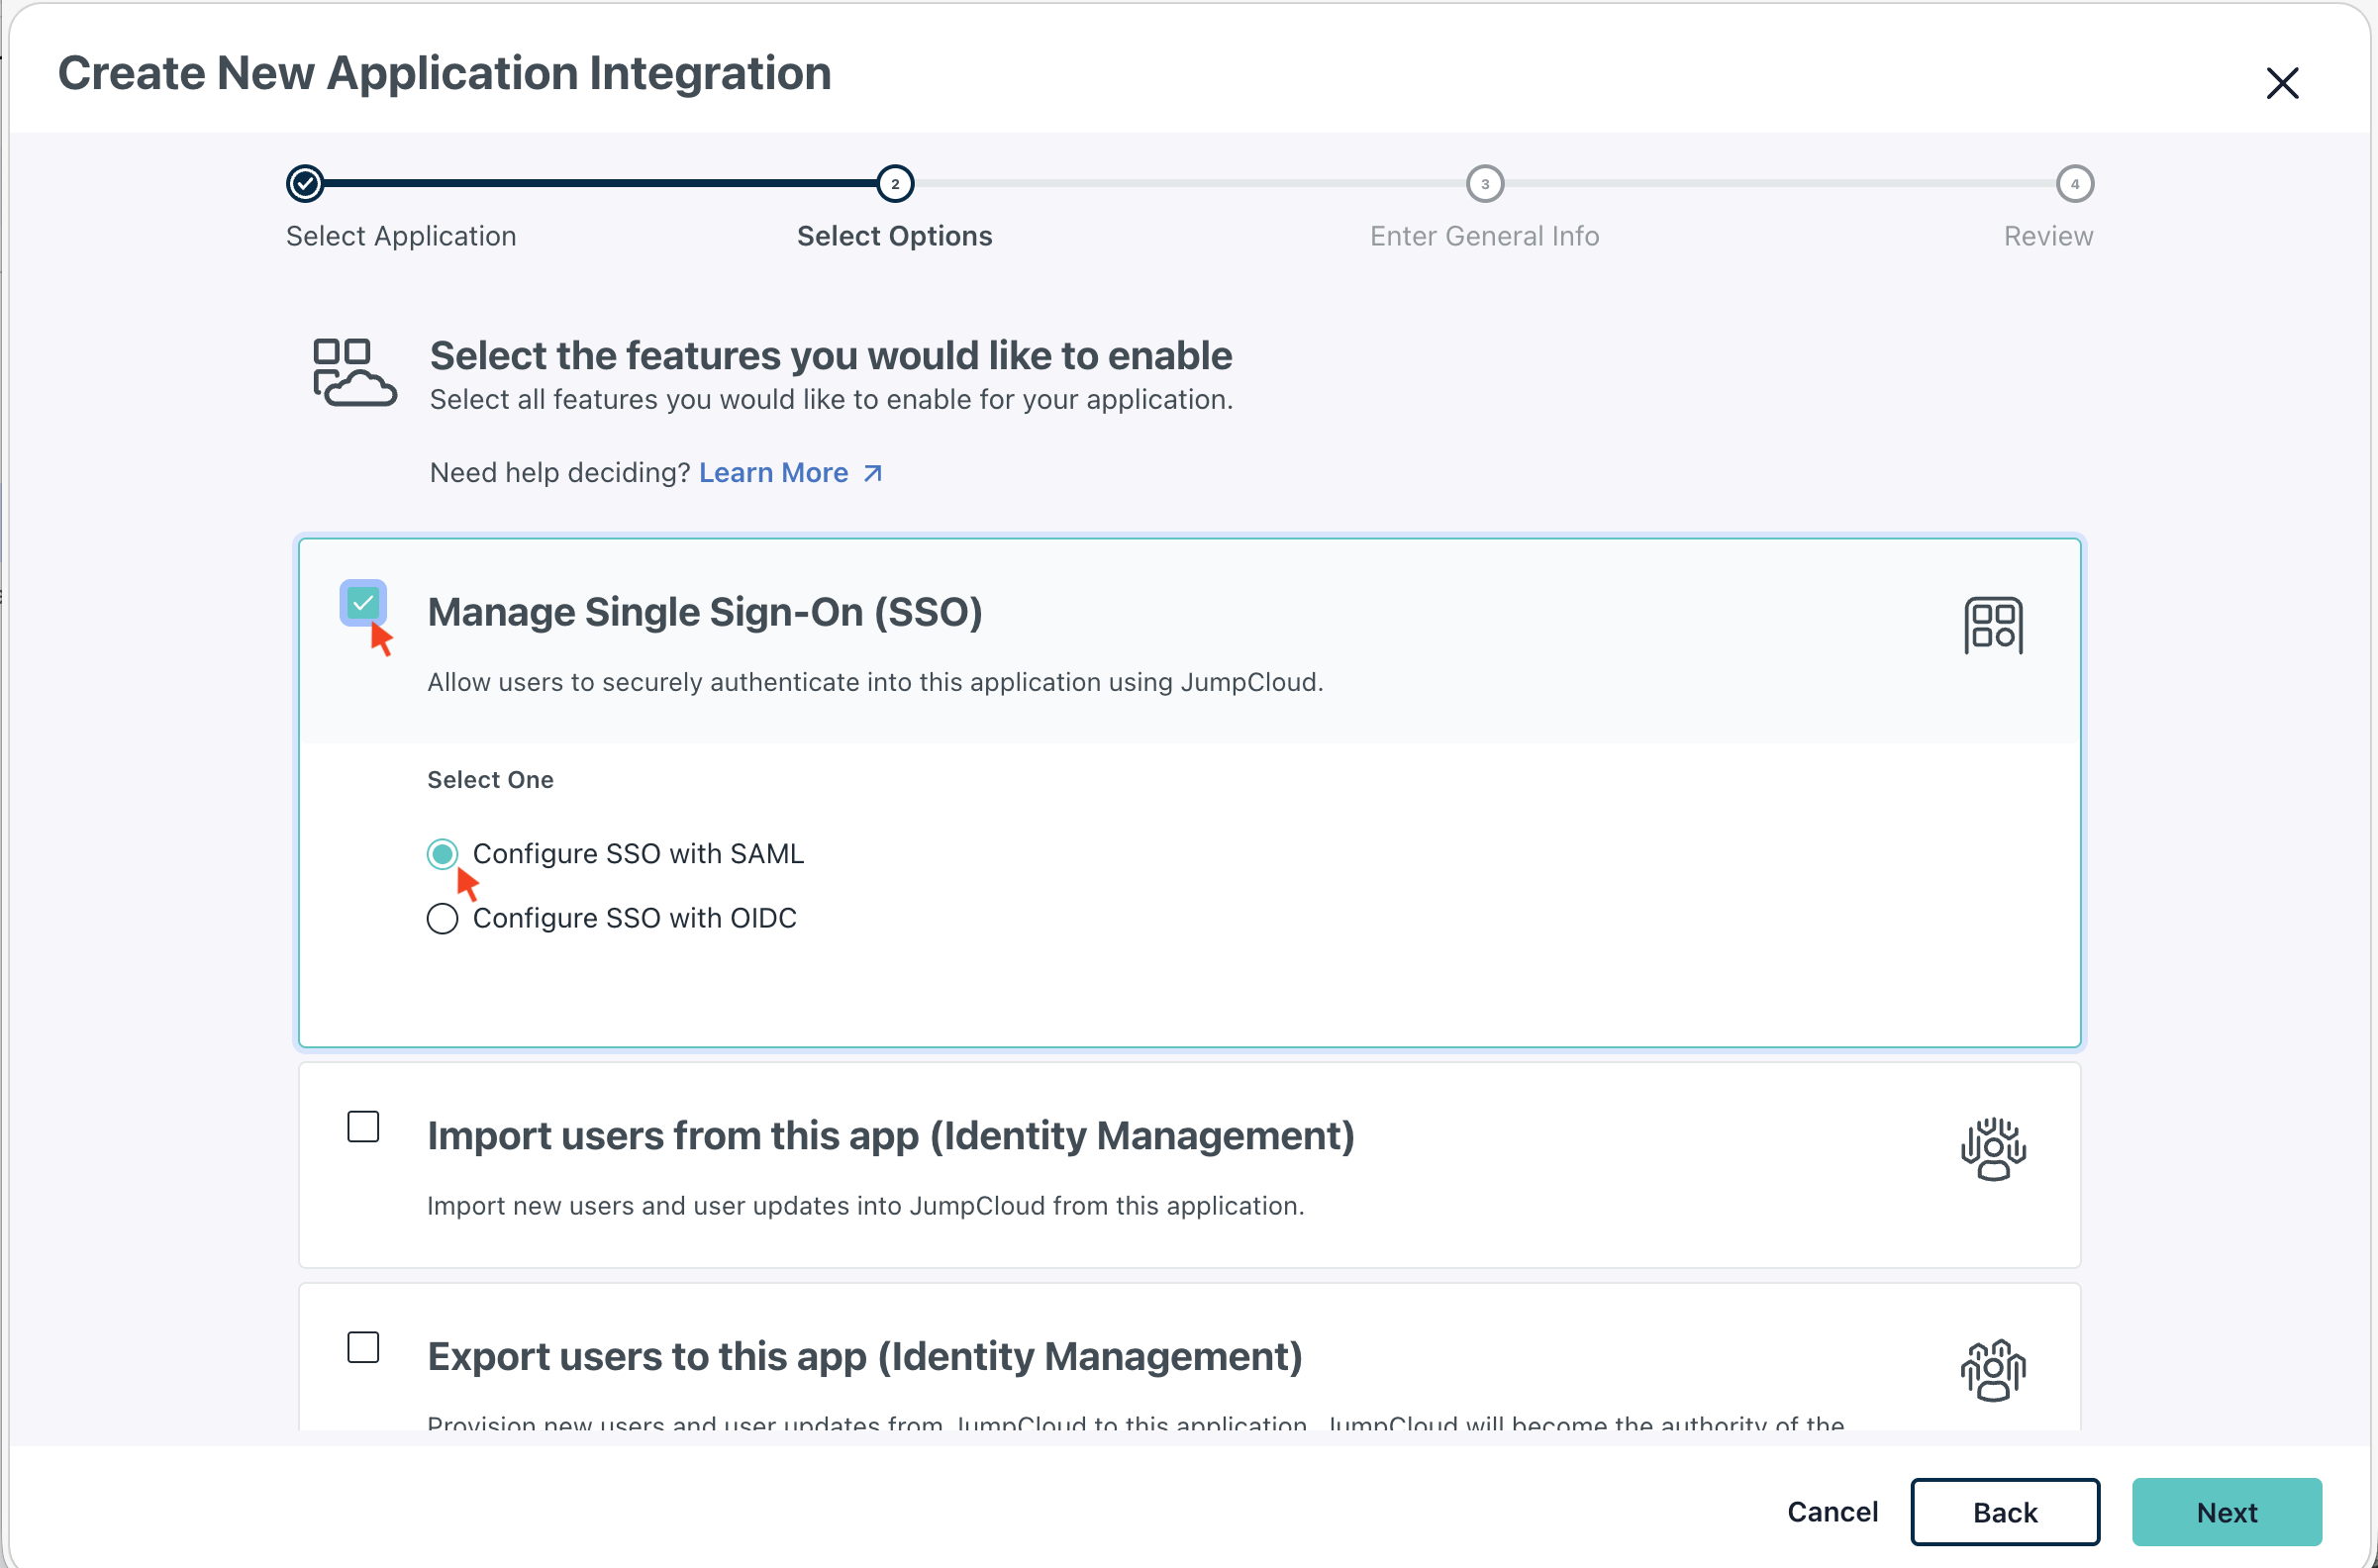
Info
Other features can be selected if needed, but SSO with SAML is required for Afi integration.
4. Configure general application information
Enter the Display Label (for example, Afi Backup). This is the name your users will see. Optionally, expand Advanced Settings to configure the SSO IdP URL.
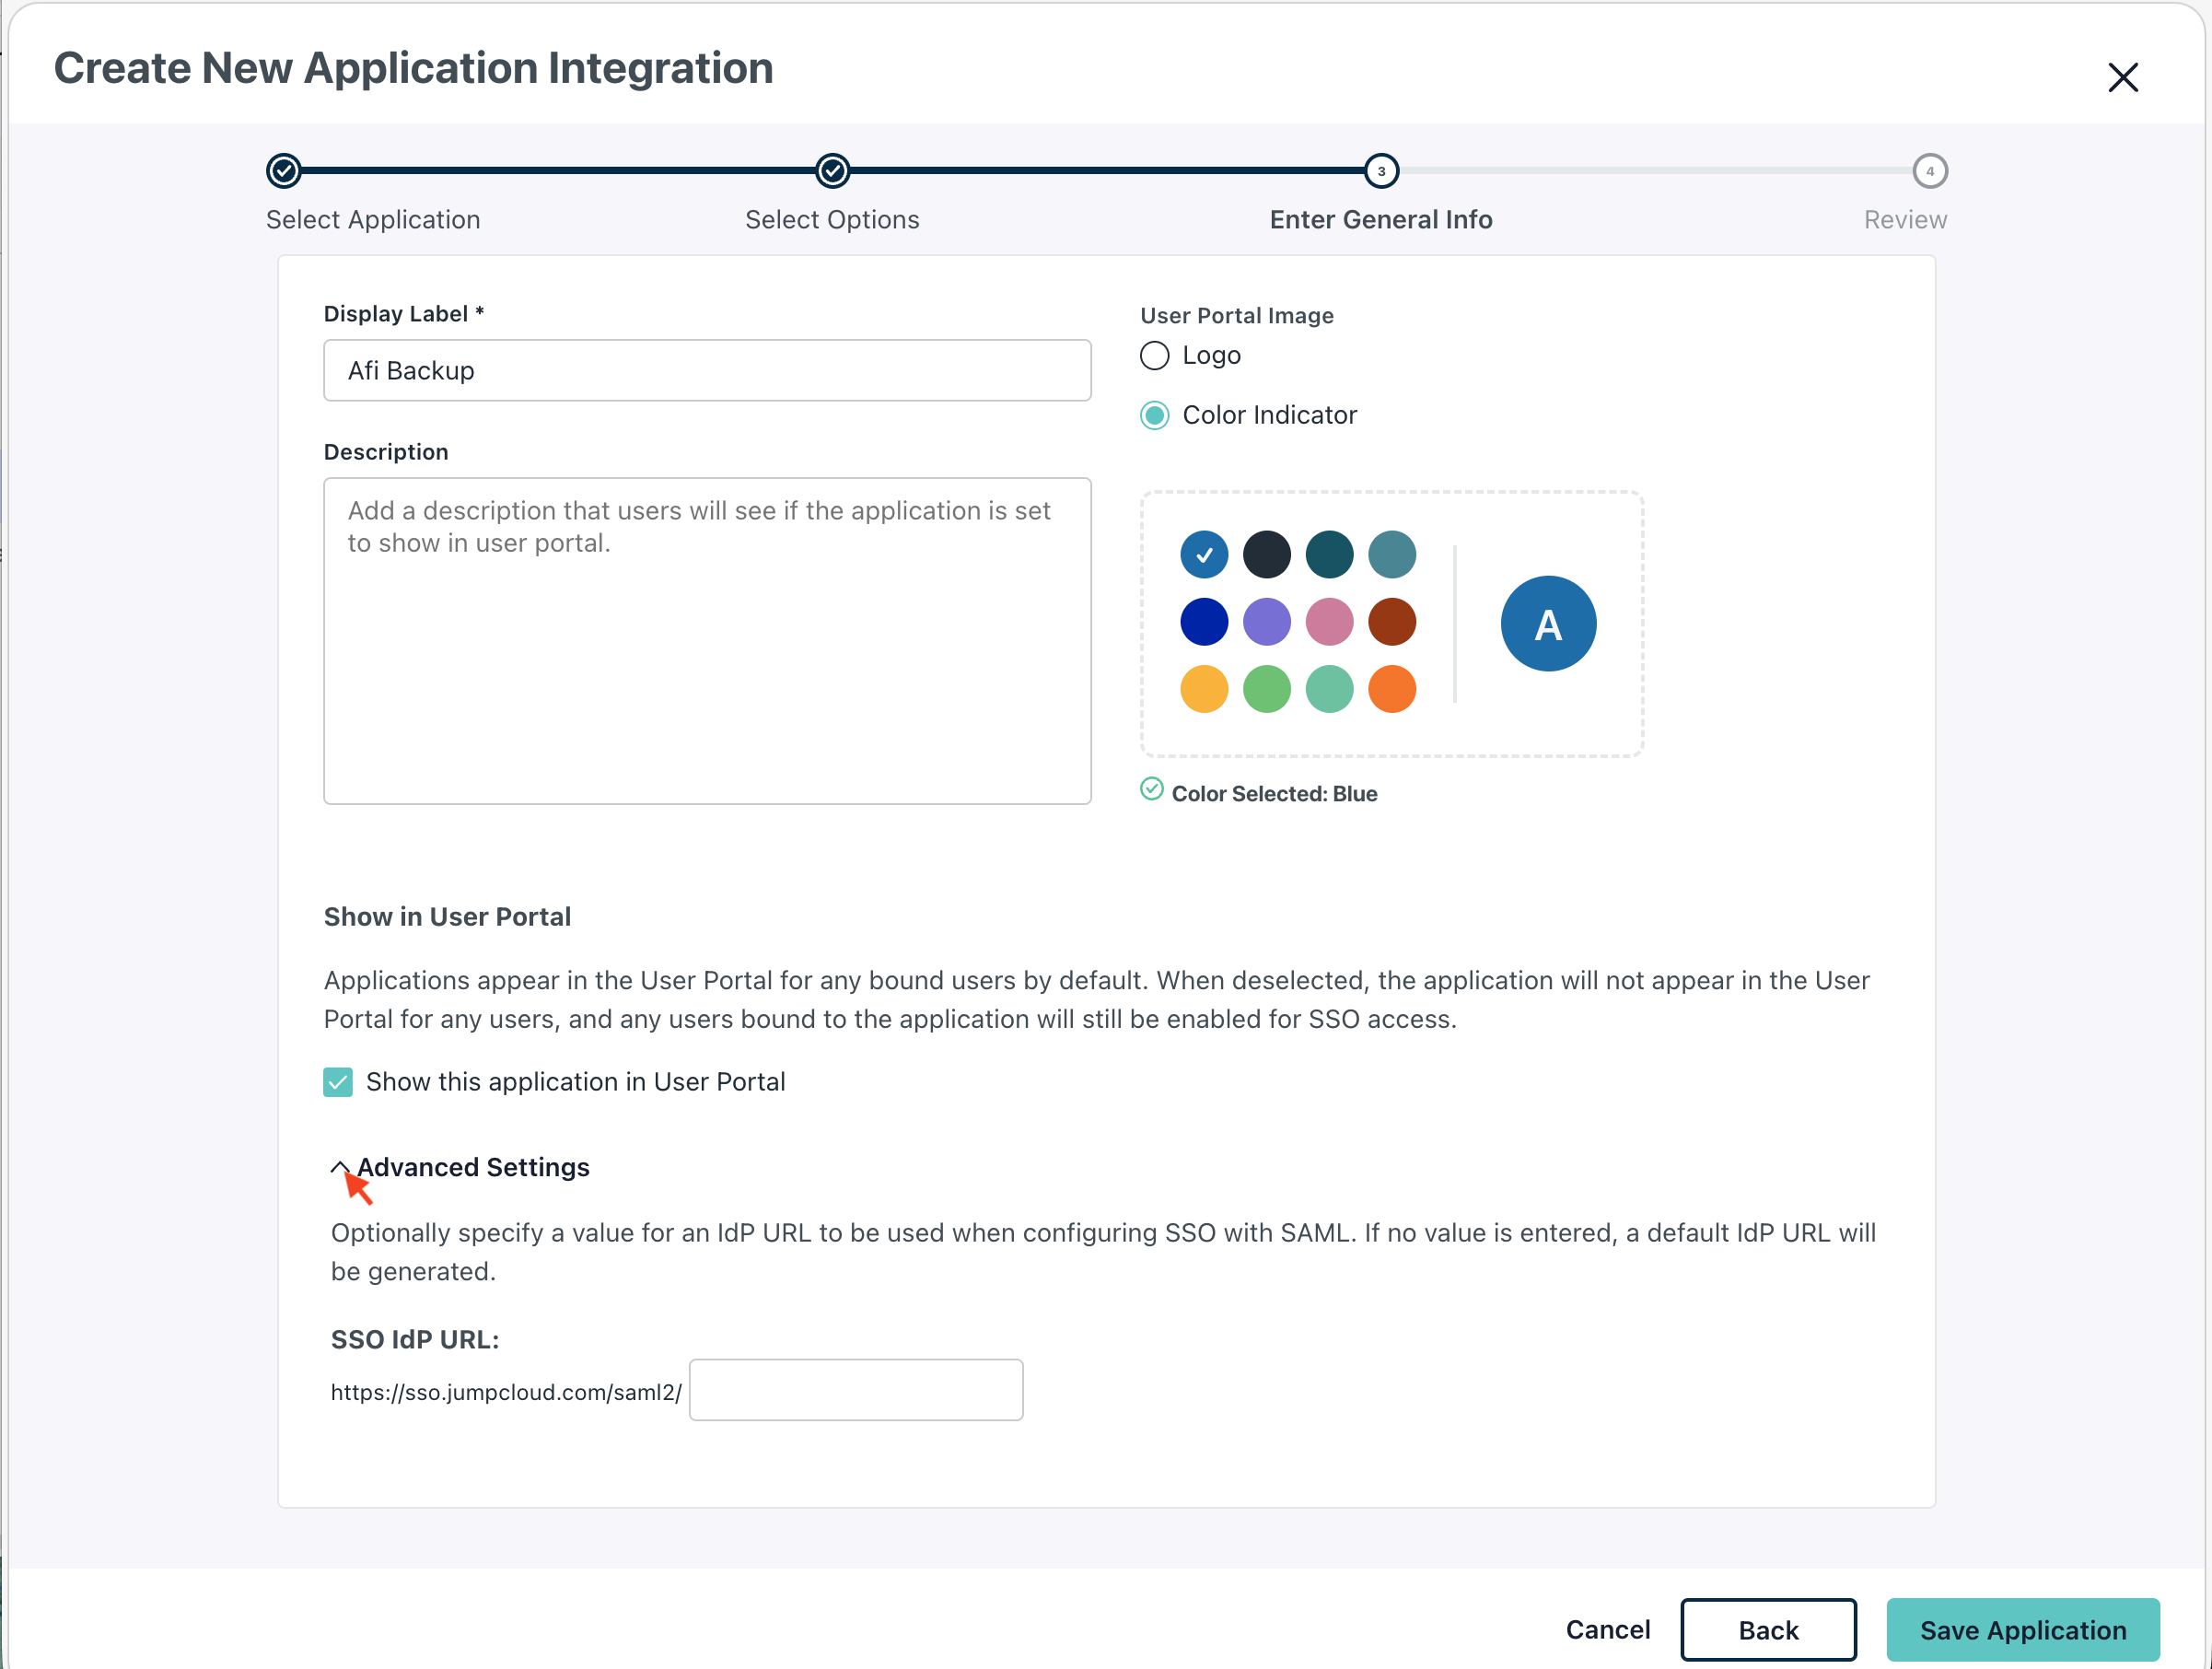
Info
The SSO IdP URL field becomes read-only after the application is saved.
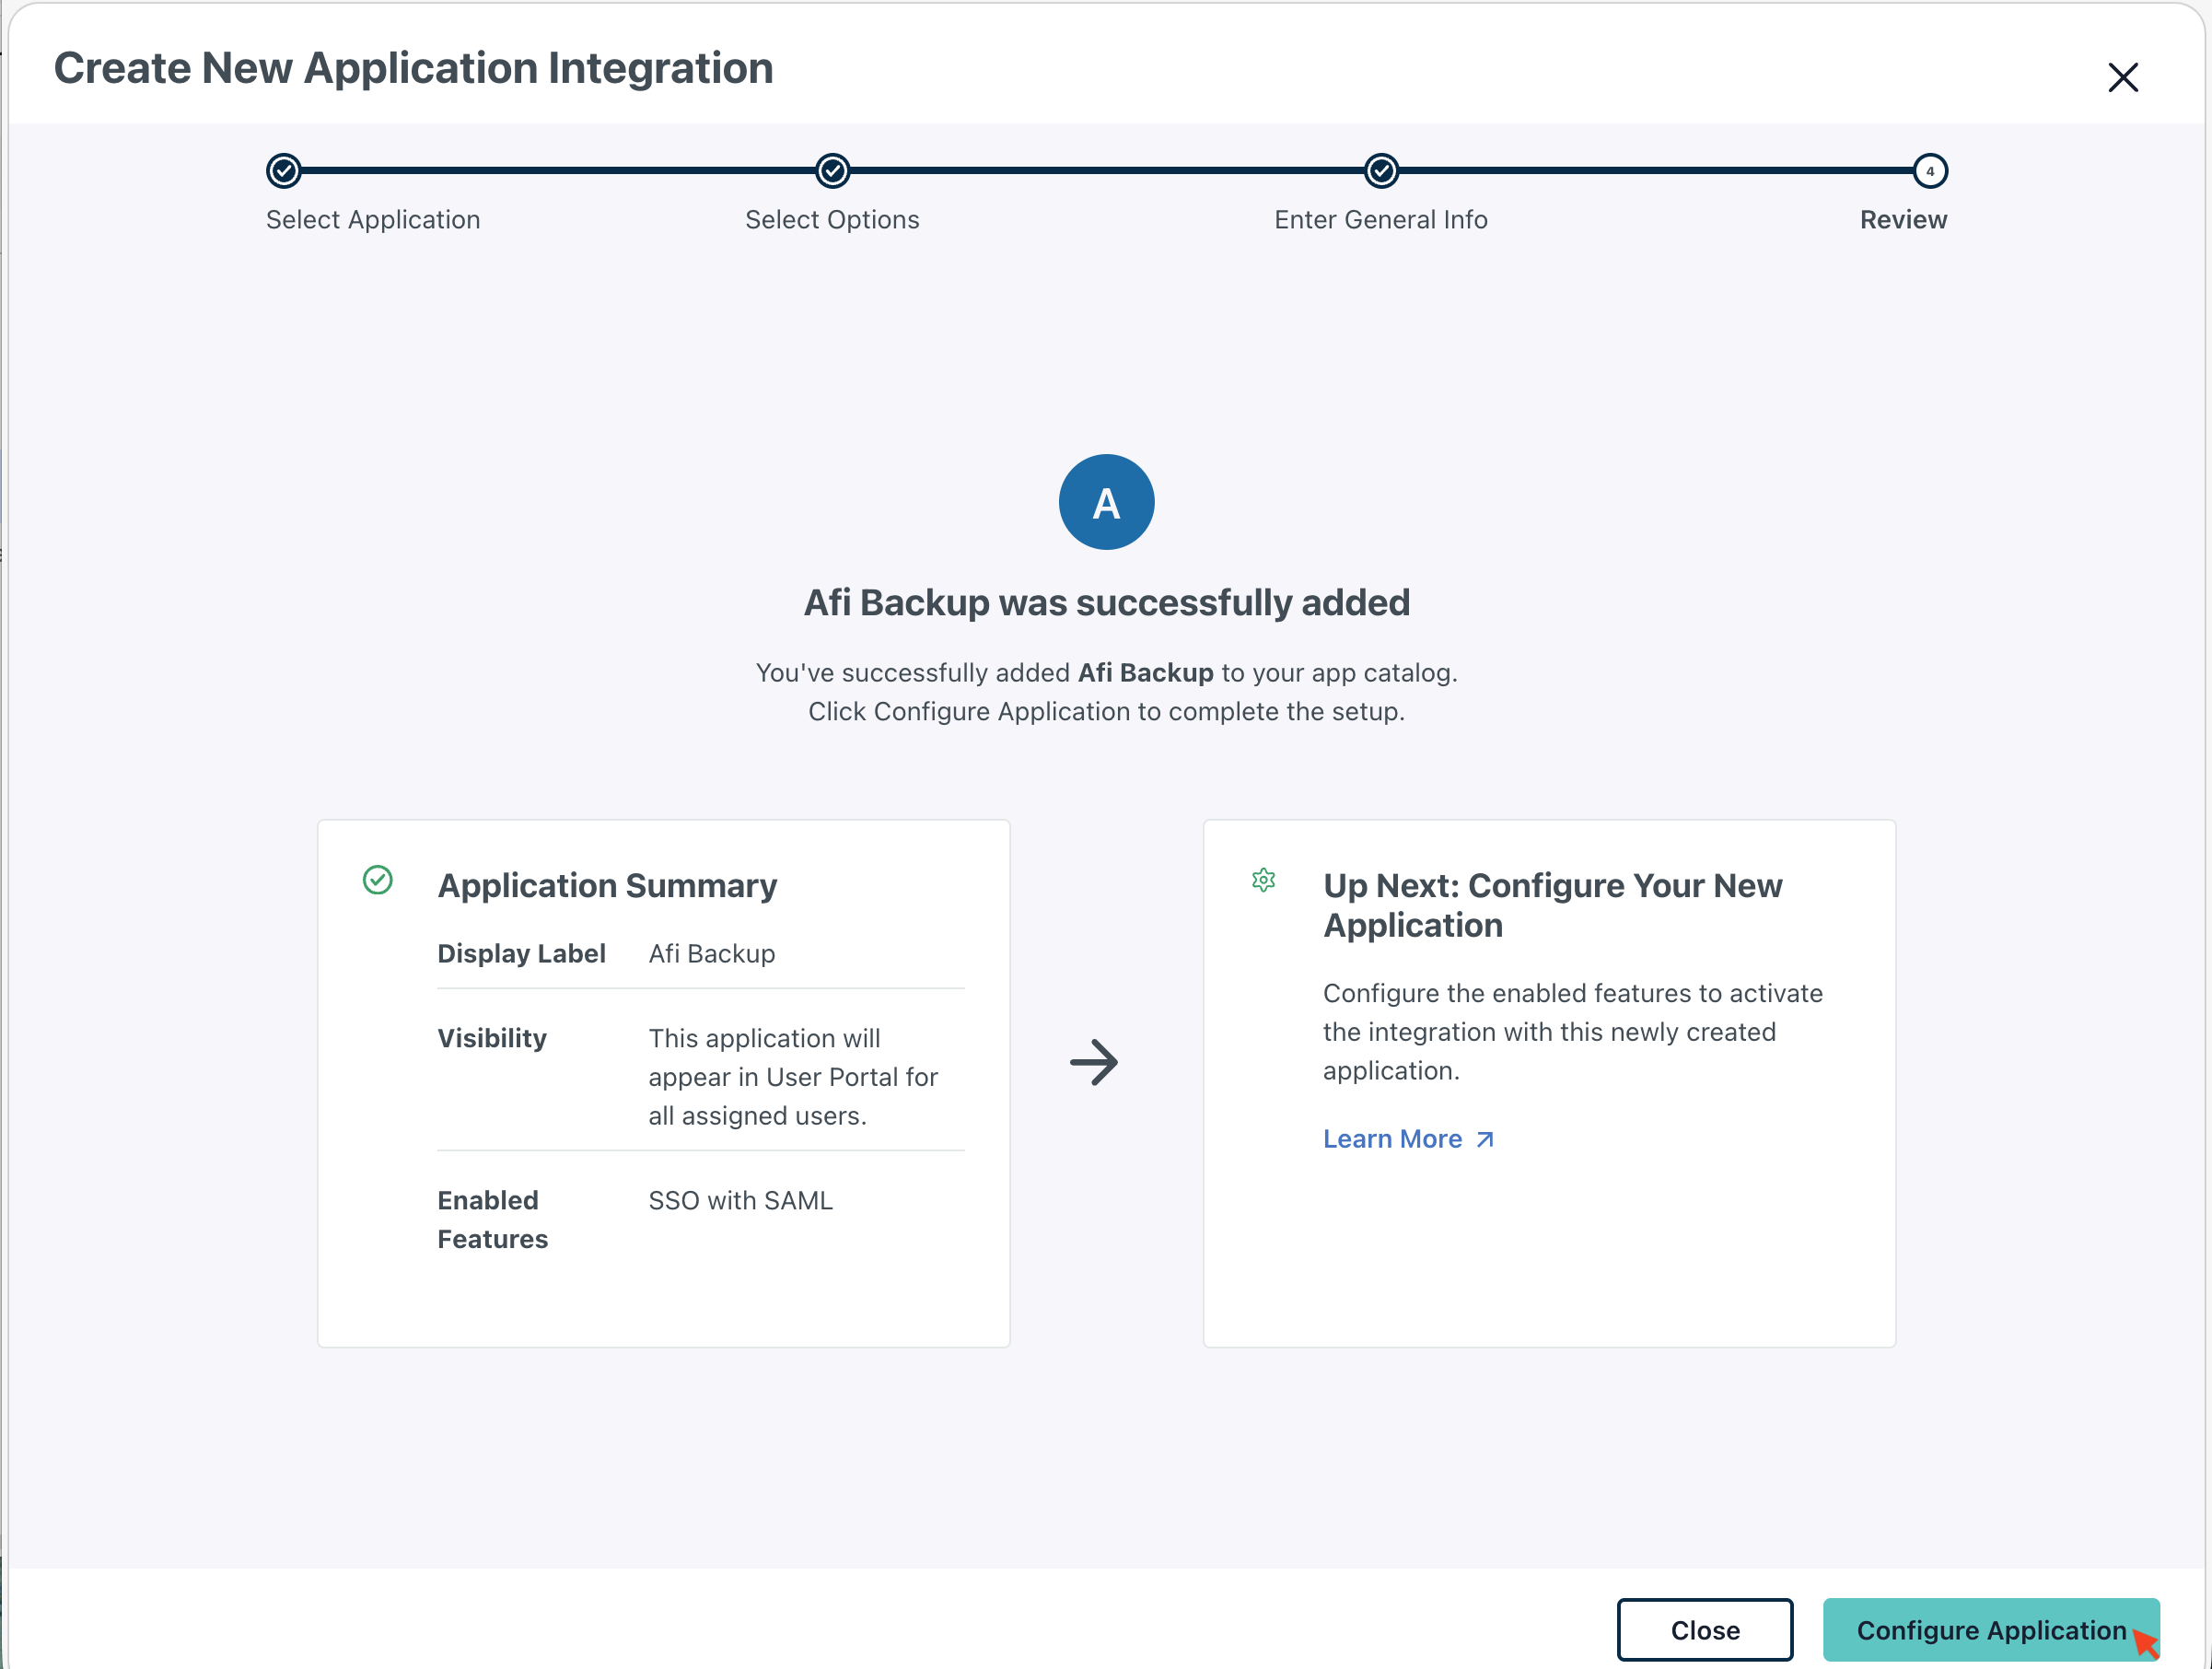
5. Save and proceed to configuration
Click Save Application. A confirmation message will appear, indicating that the application was added successfully. Click Configure Application to proceed.
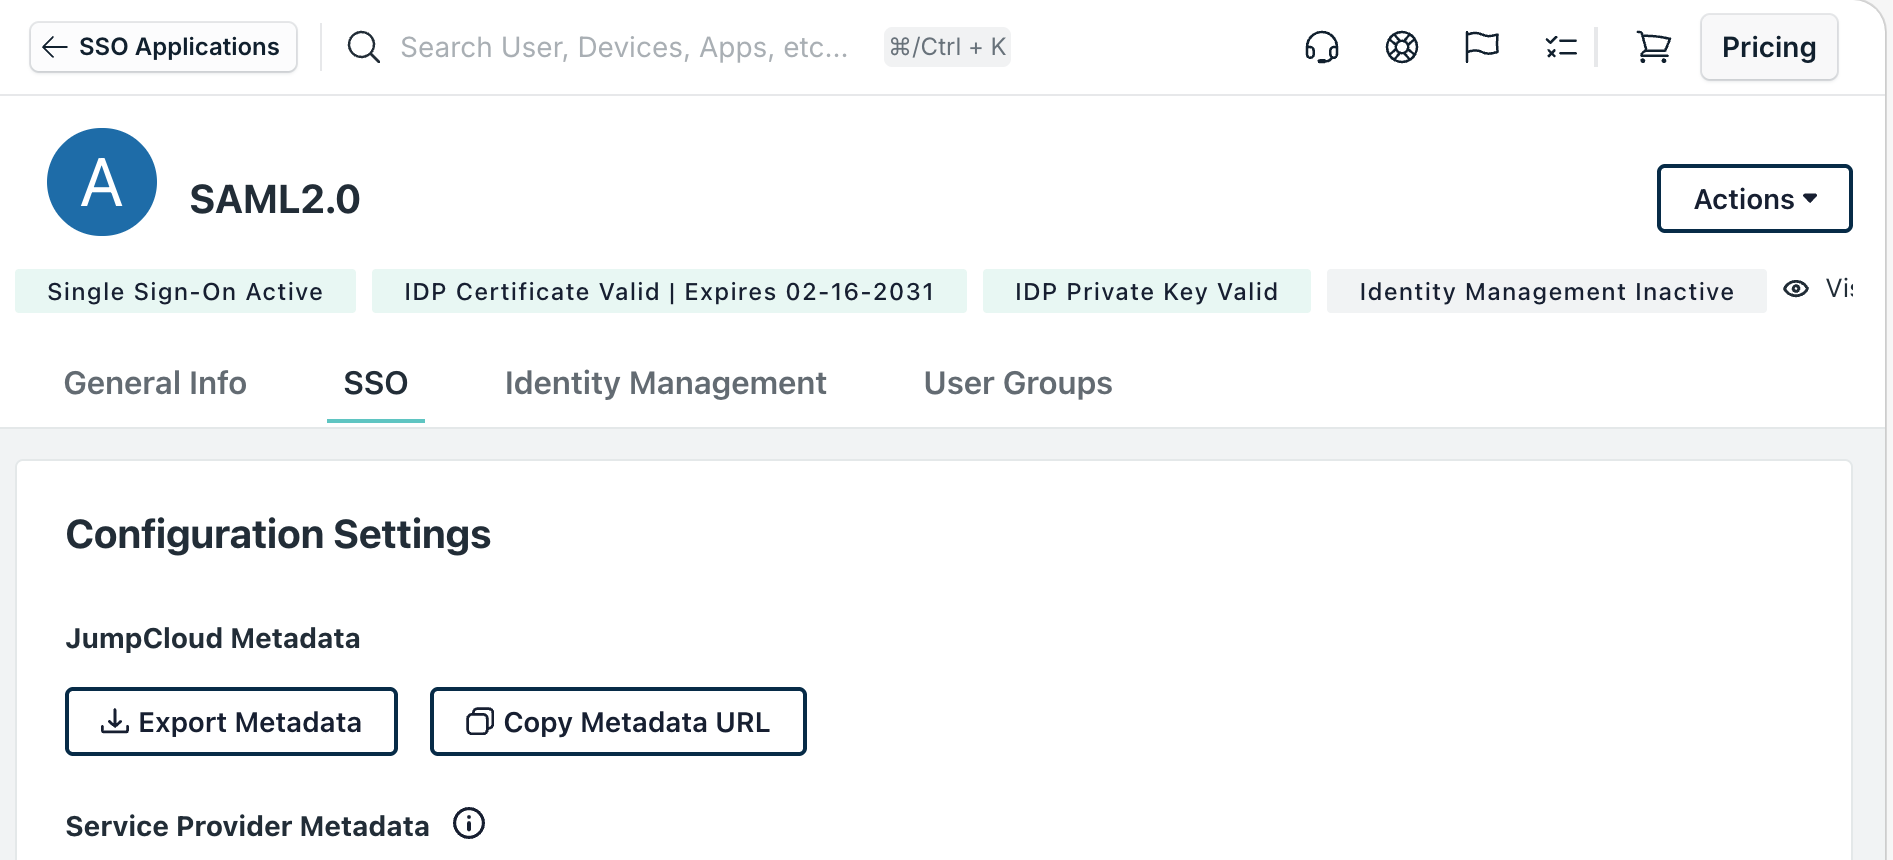
Configure application settings
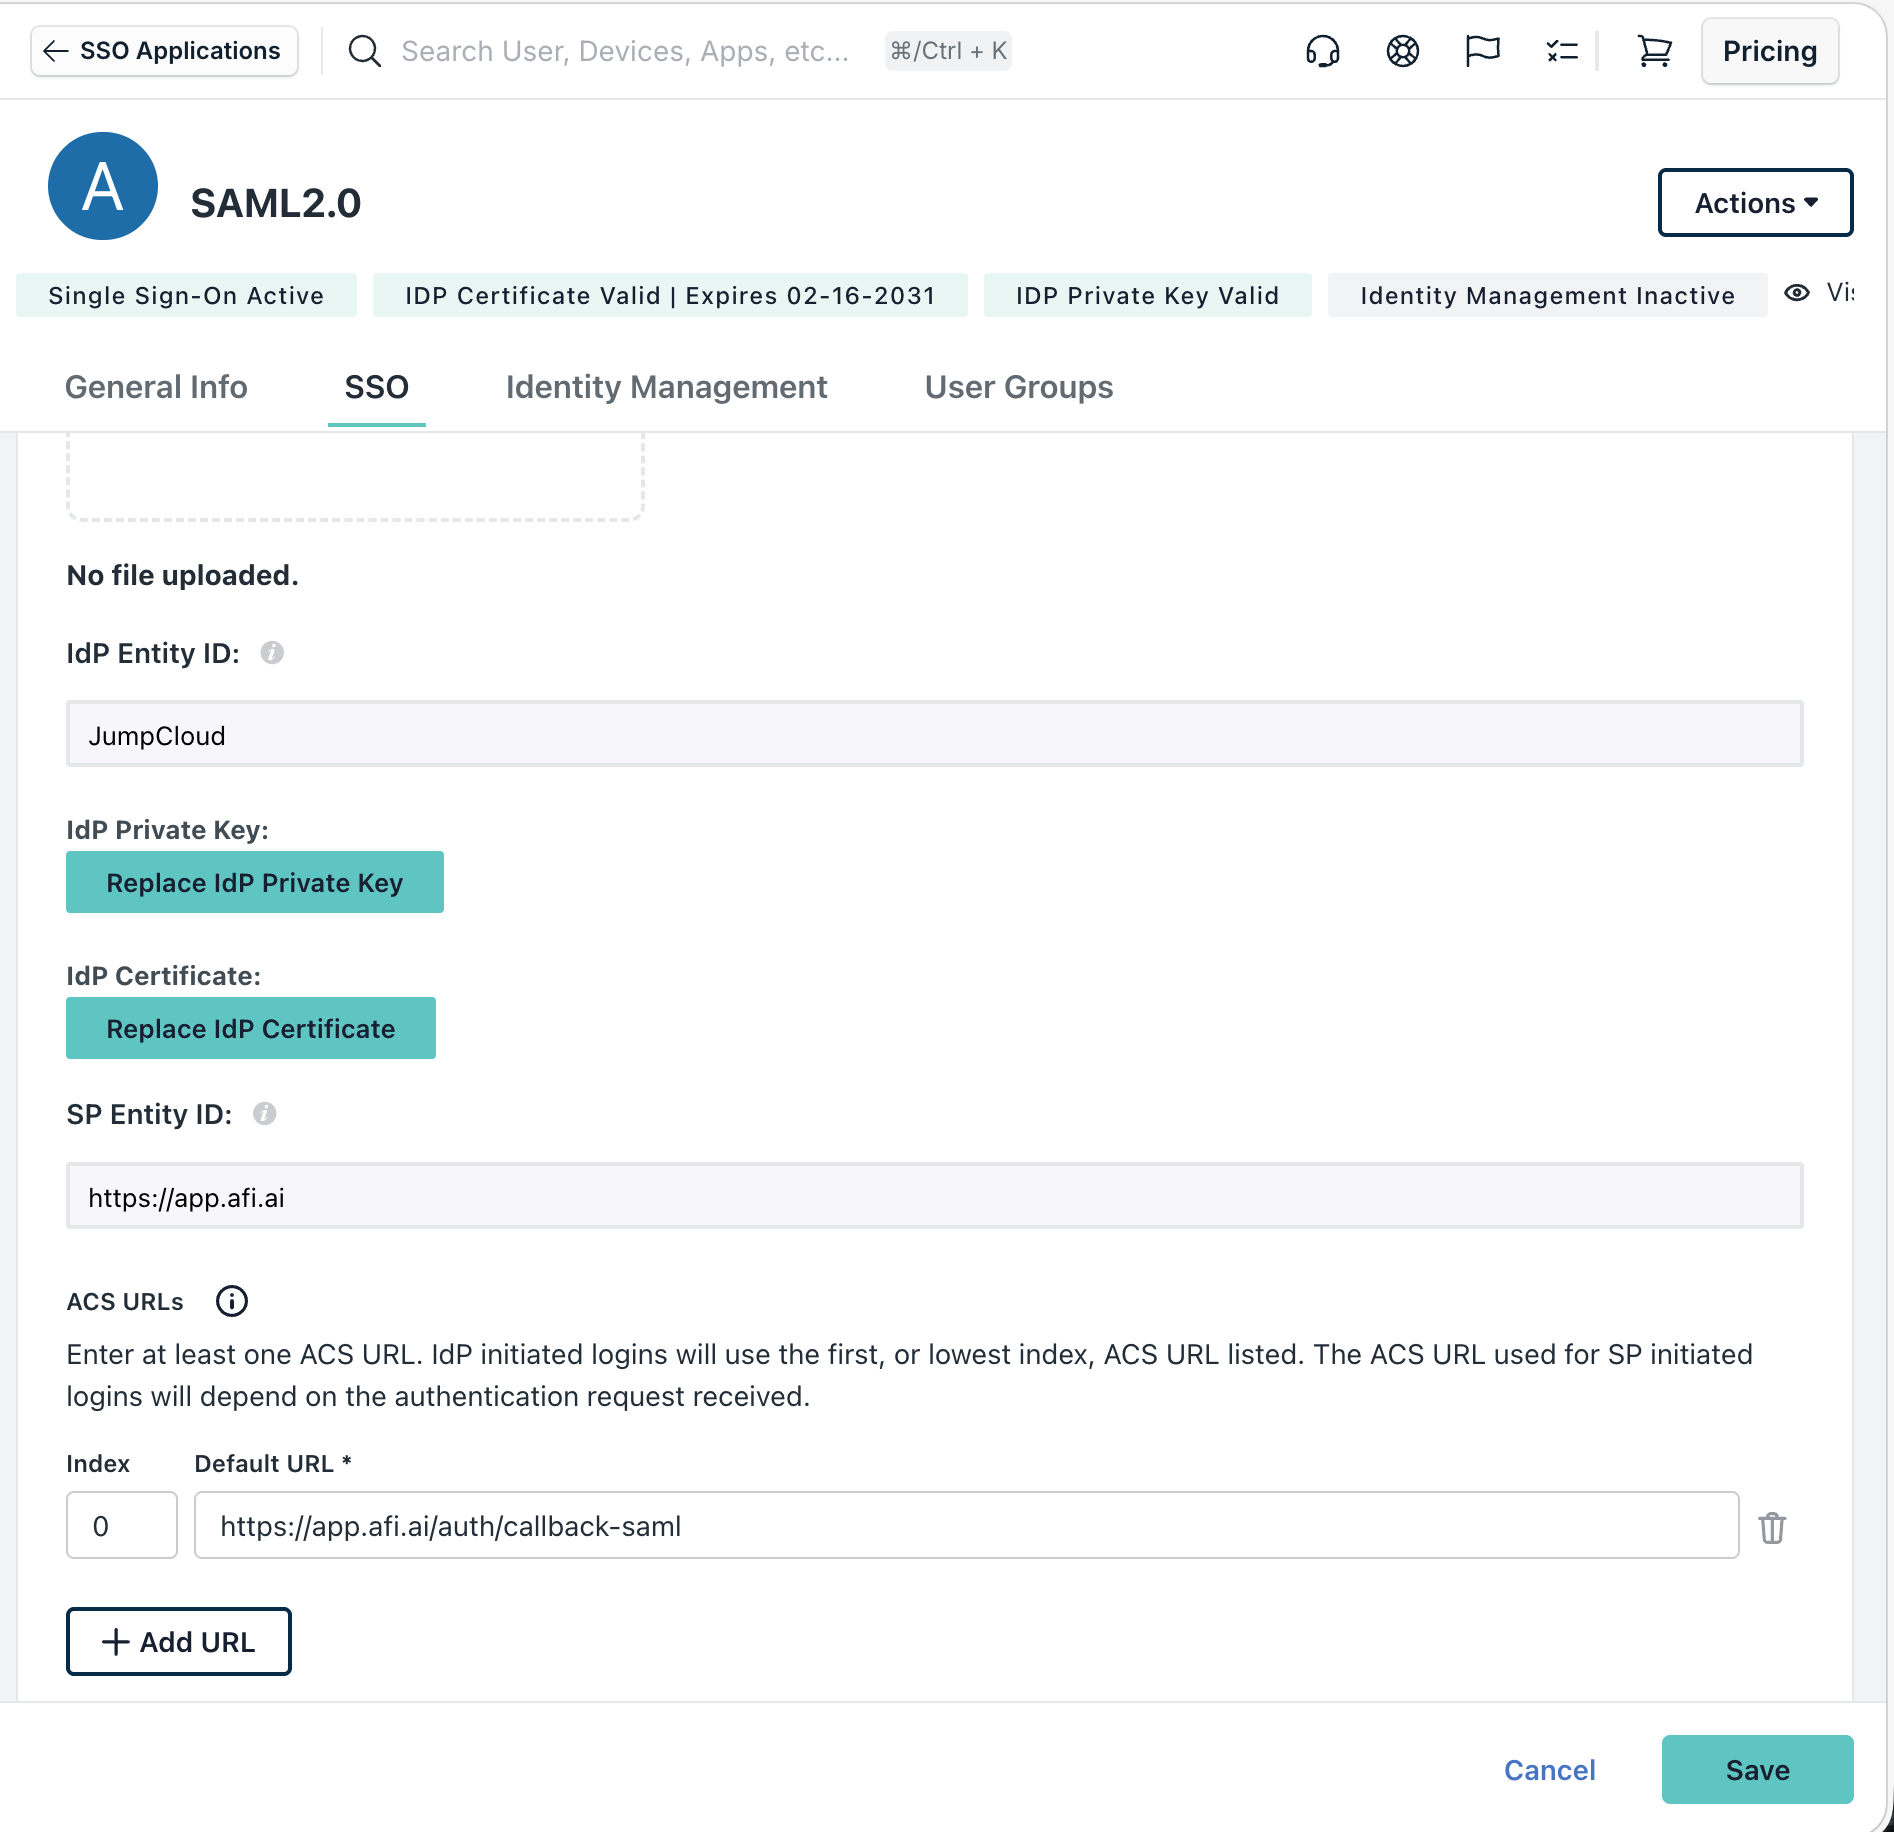
Configure the following SAML parameters in the application's Configuration Settings:
The Metadata URL will be required later for the Afi-side integration configuration.
Identity and service provider settings
Configure the following fields:
- IdP Entity ID:
JumpCloud - SP Entity ID:
https://app.afi.ai - ACS URLs:
https://app.afi.ai/auth/callback-saml
Authentication and login settings
Configure the following parameters:
- Sign: Select
Assertion - Default RelayState:
accountd - Login URL:
https://app.afi.ai/login-saml - IdP URL: This field is read-only and will be used when enabling SAML SSO on the Afi-side.

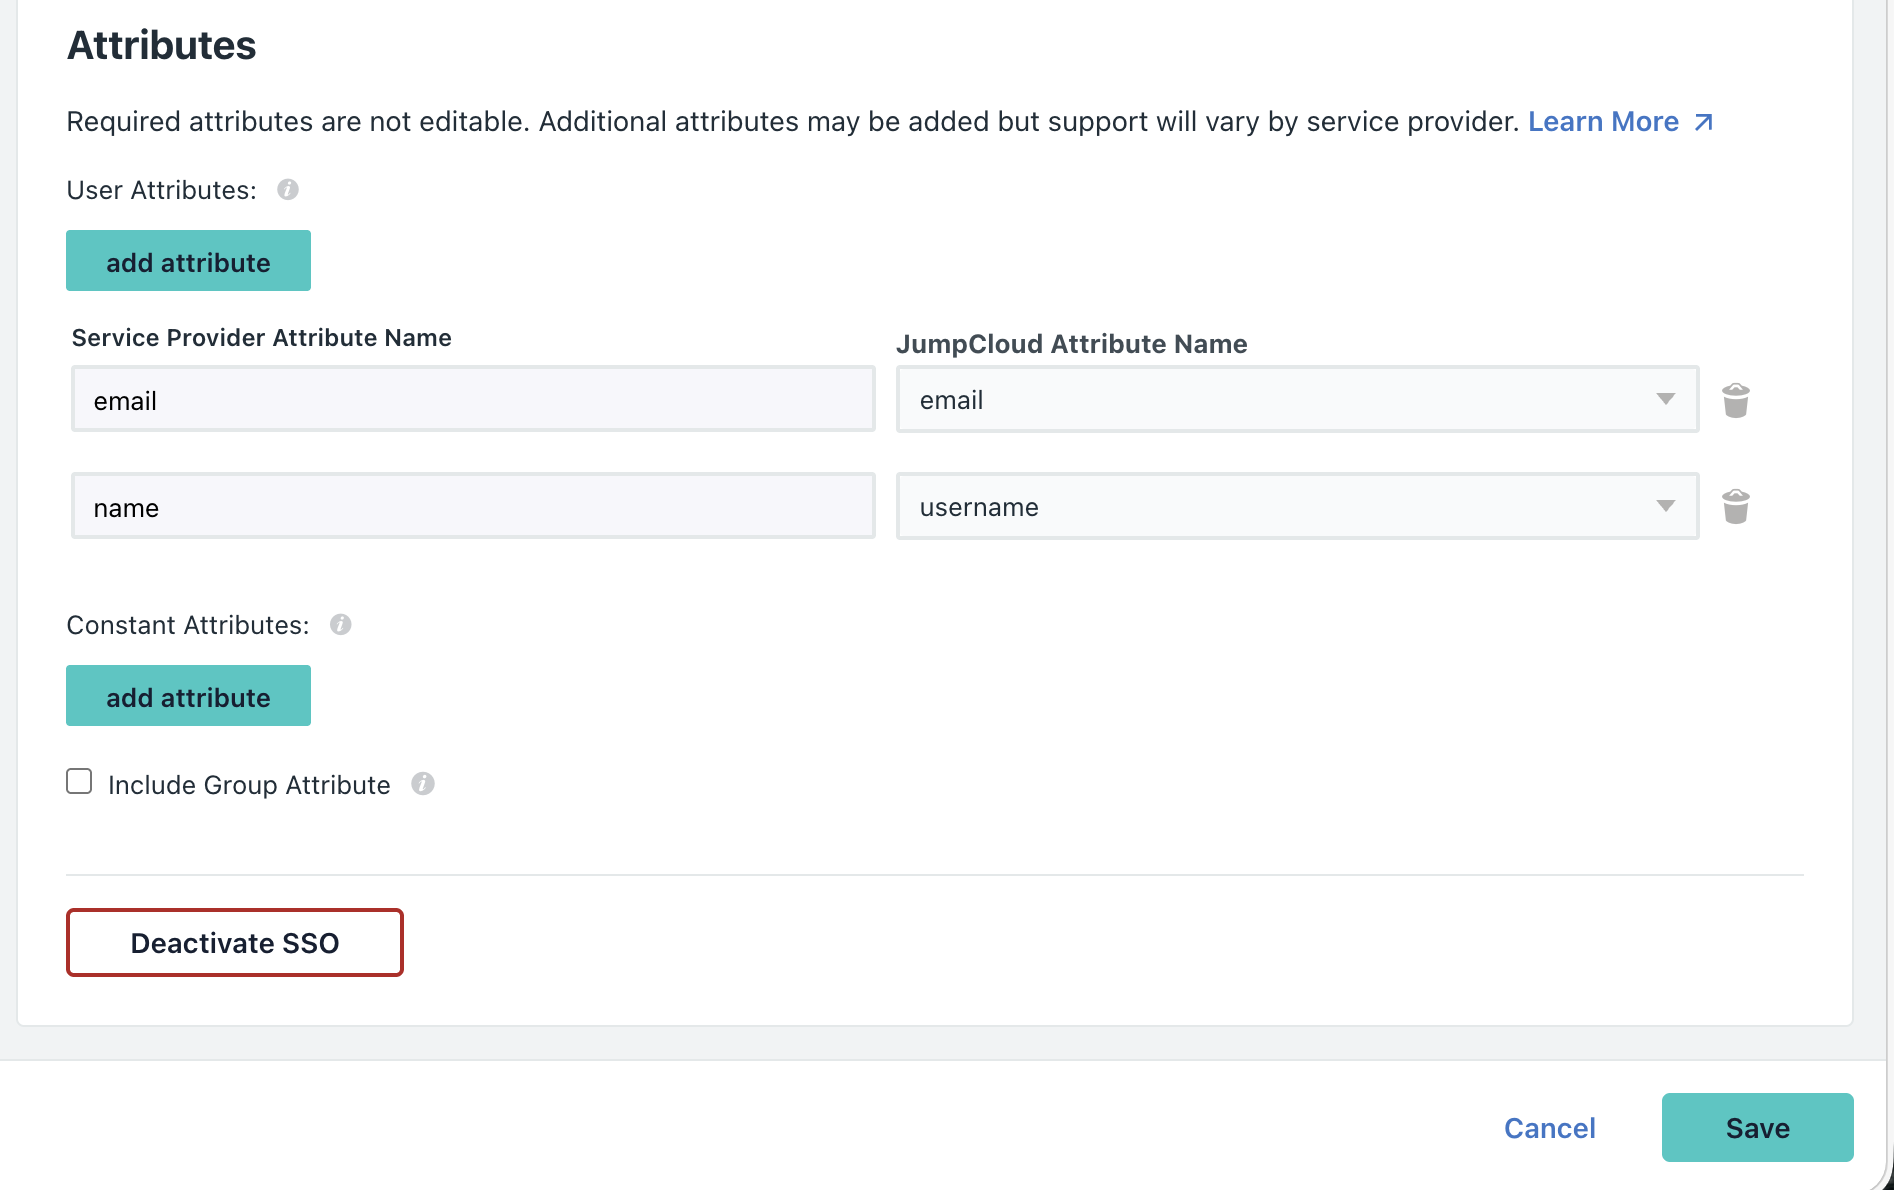
User attributes mapping
Configure the following user attributes to be included in the SAML assertion:
| Service Provider Attribute Name | JumpCloud Attribute Name |
|---|---|
email |
email |
name |
username |
Info
Identity provider emails of the users accessing the Afi application via SAML SSO should match with the corresponding Microsoft 365 or Google Workspace primary emails in the Afi tenant where SAML SSO authentication is configured.
Download application certificate
In the top right corner, go to Actions → Download Certificate. Save this certificate for the Afi-side configuration.
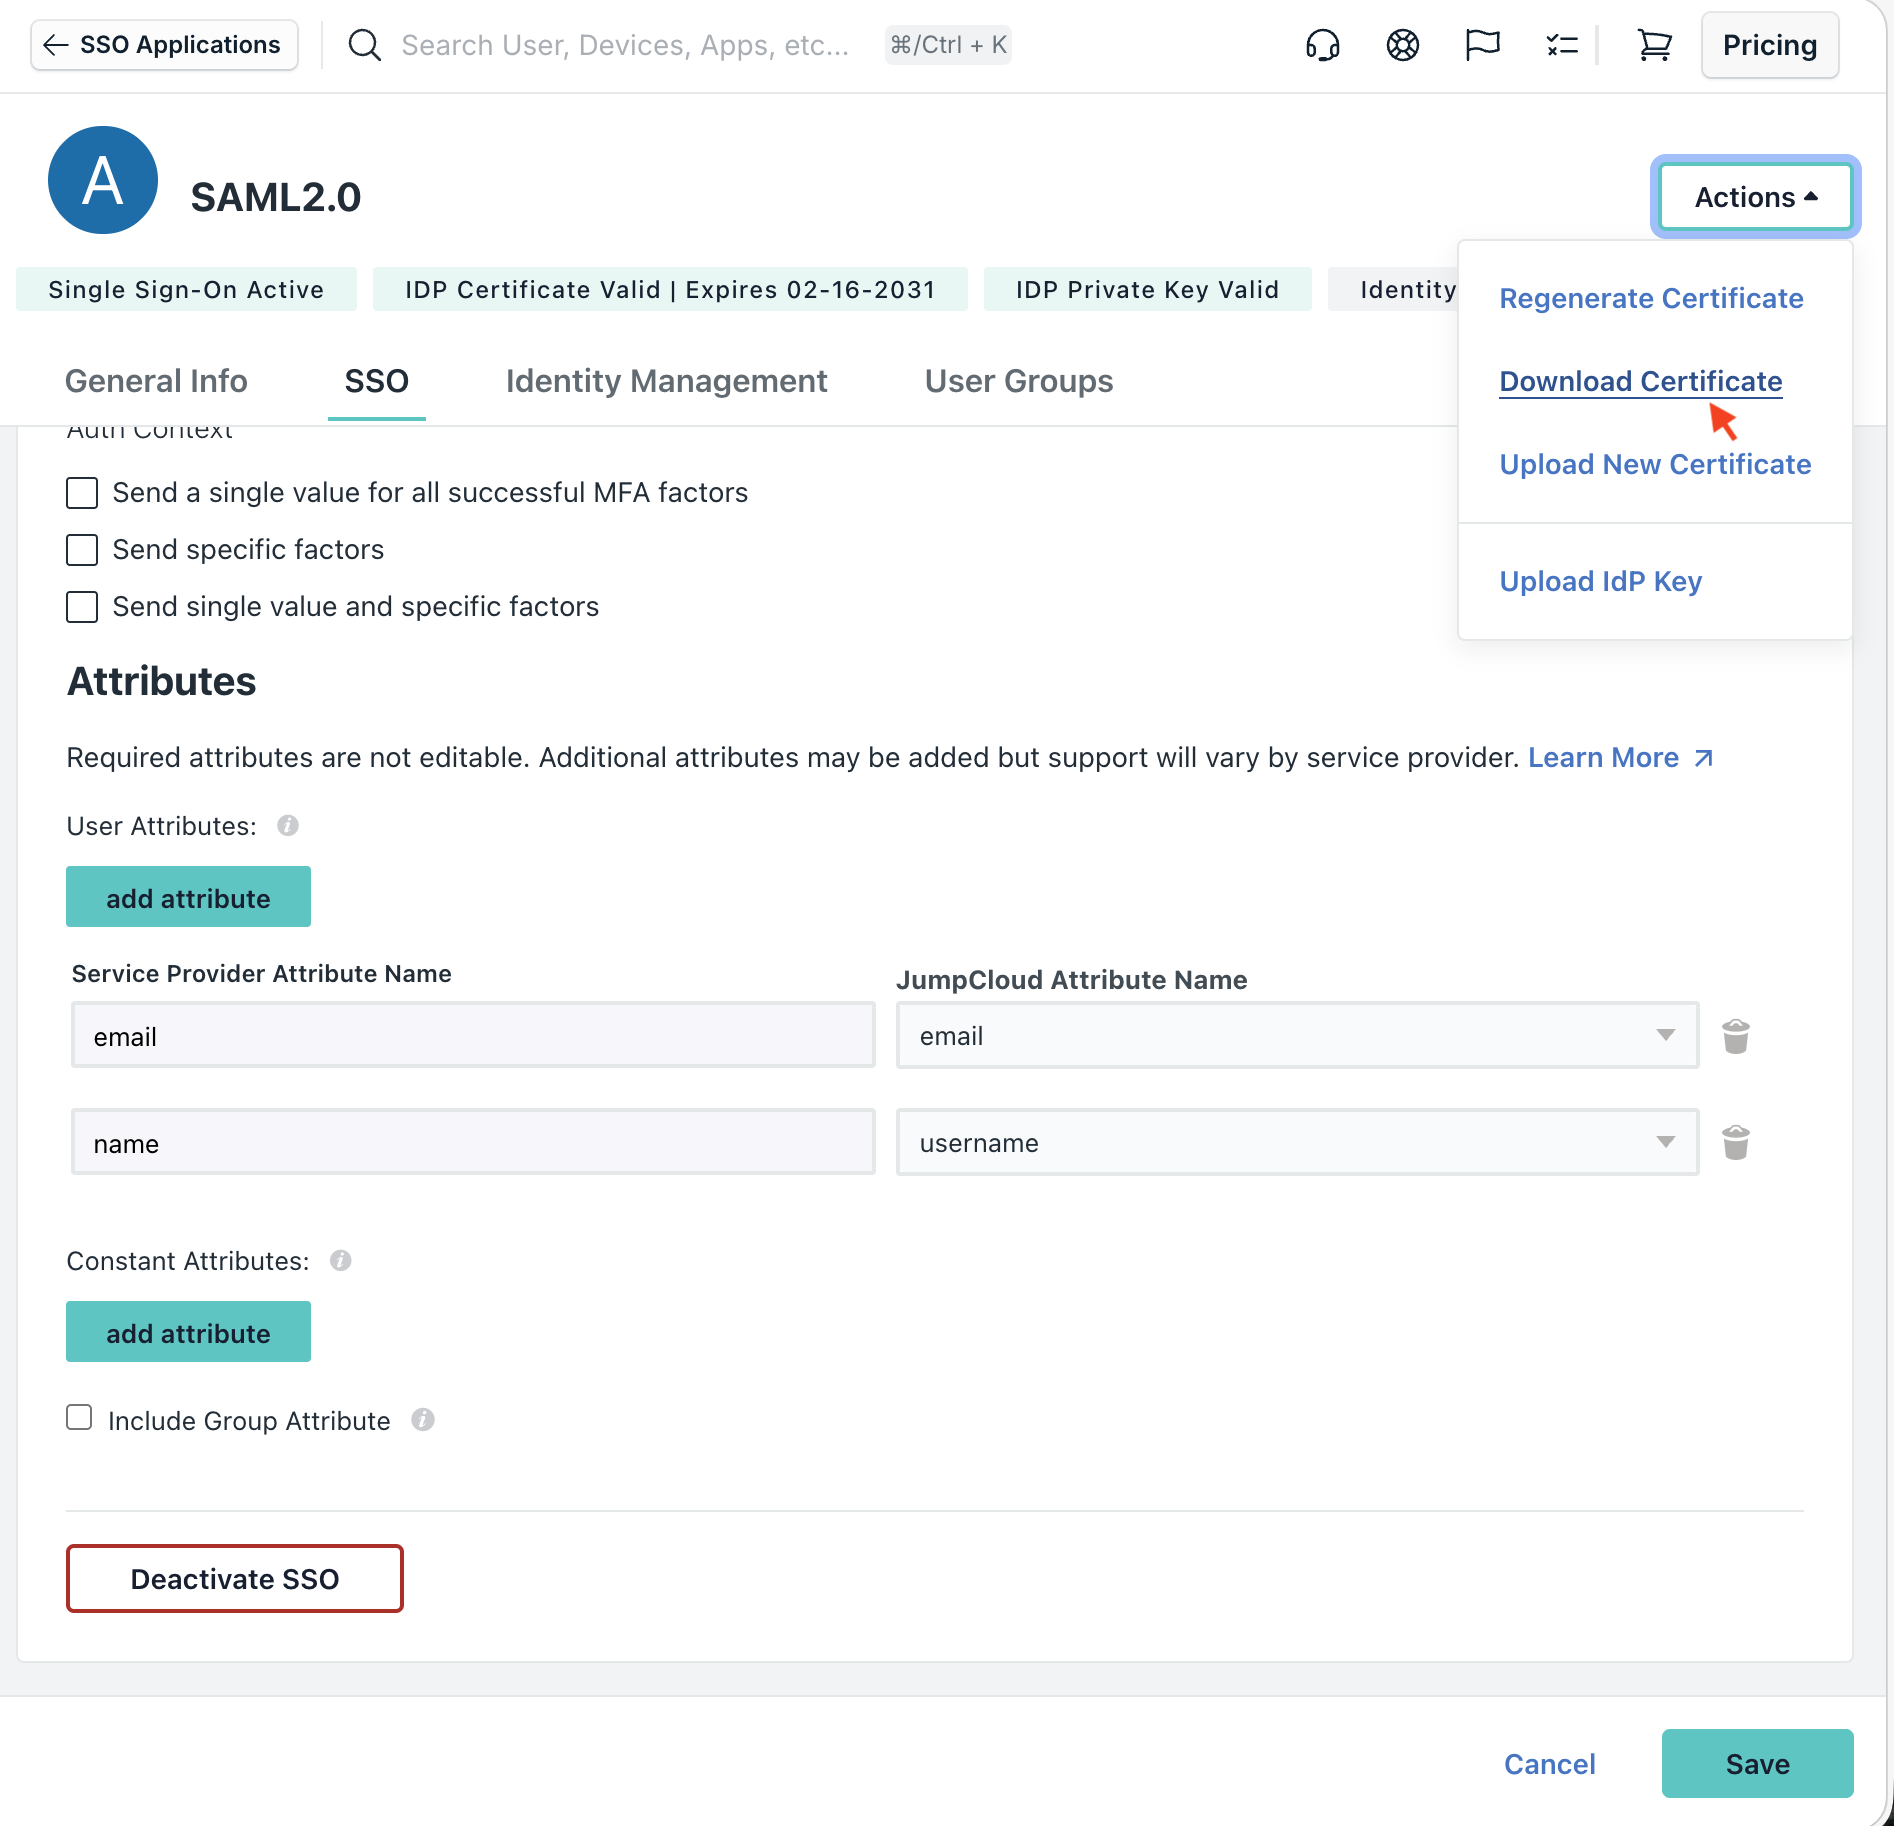
Click Save to complete the JumpCloud configuration.
Assign users to the application
After configuring the SAML application, assign users or user groups to enable authentication:
- Go to the User Groups or Users tab within your JumpCloud application.
- Assign the relevant users or groups who should have access to Afi.
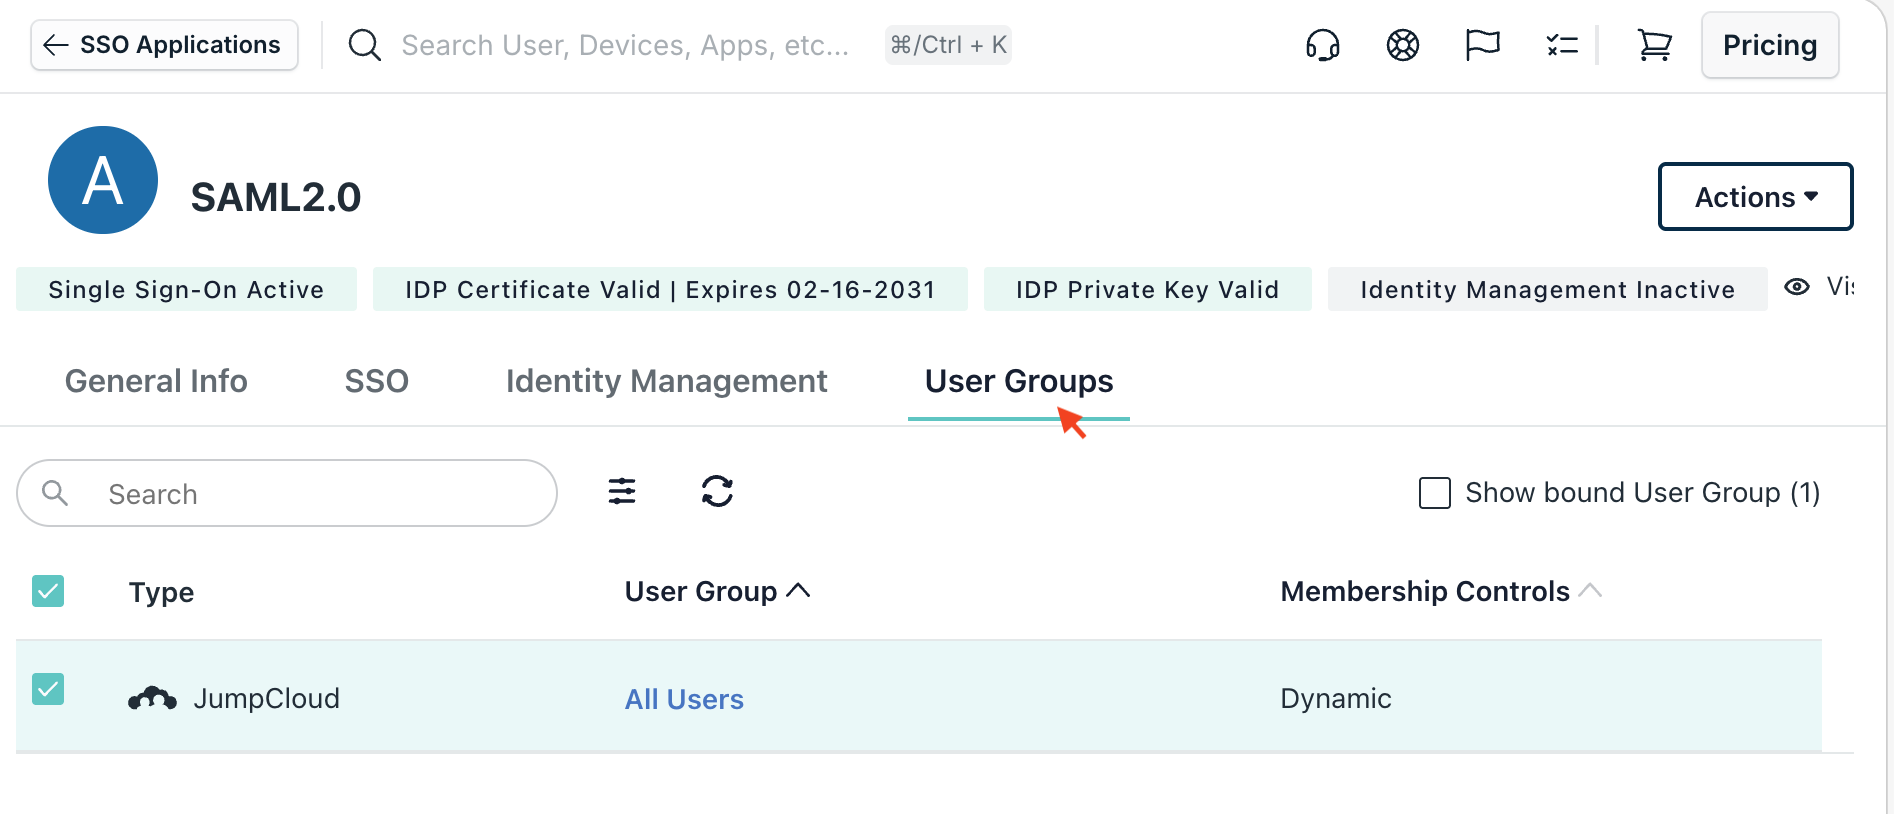
Once assigned, the Afi application will appear in the end-user portals for these users in JumpCloud.
Enable SAML SSO on the Afi-side
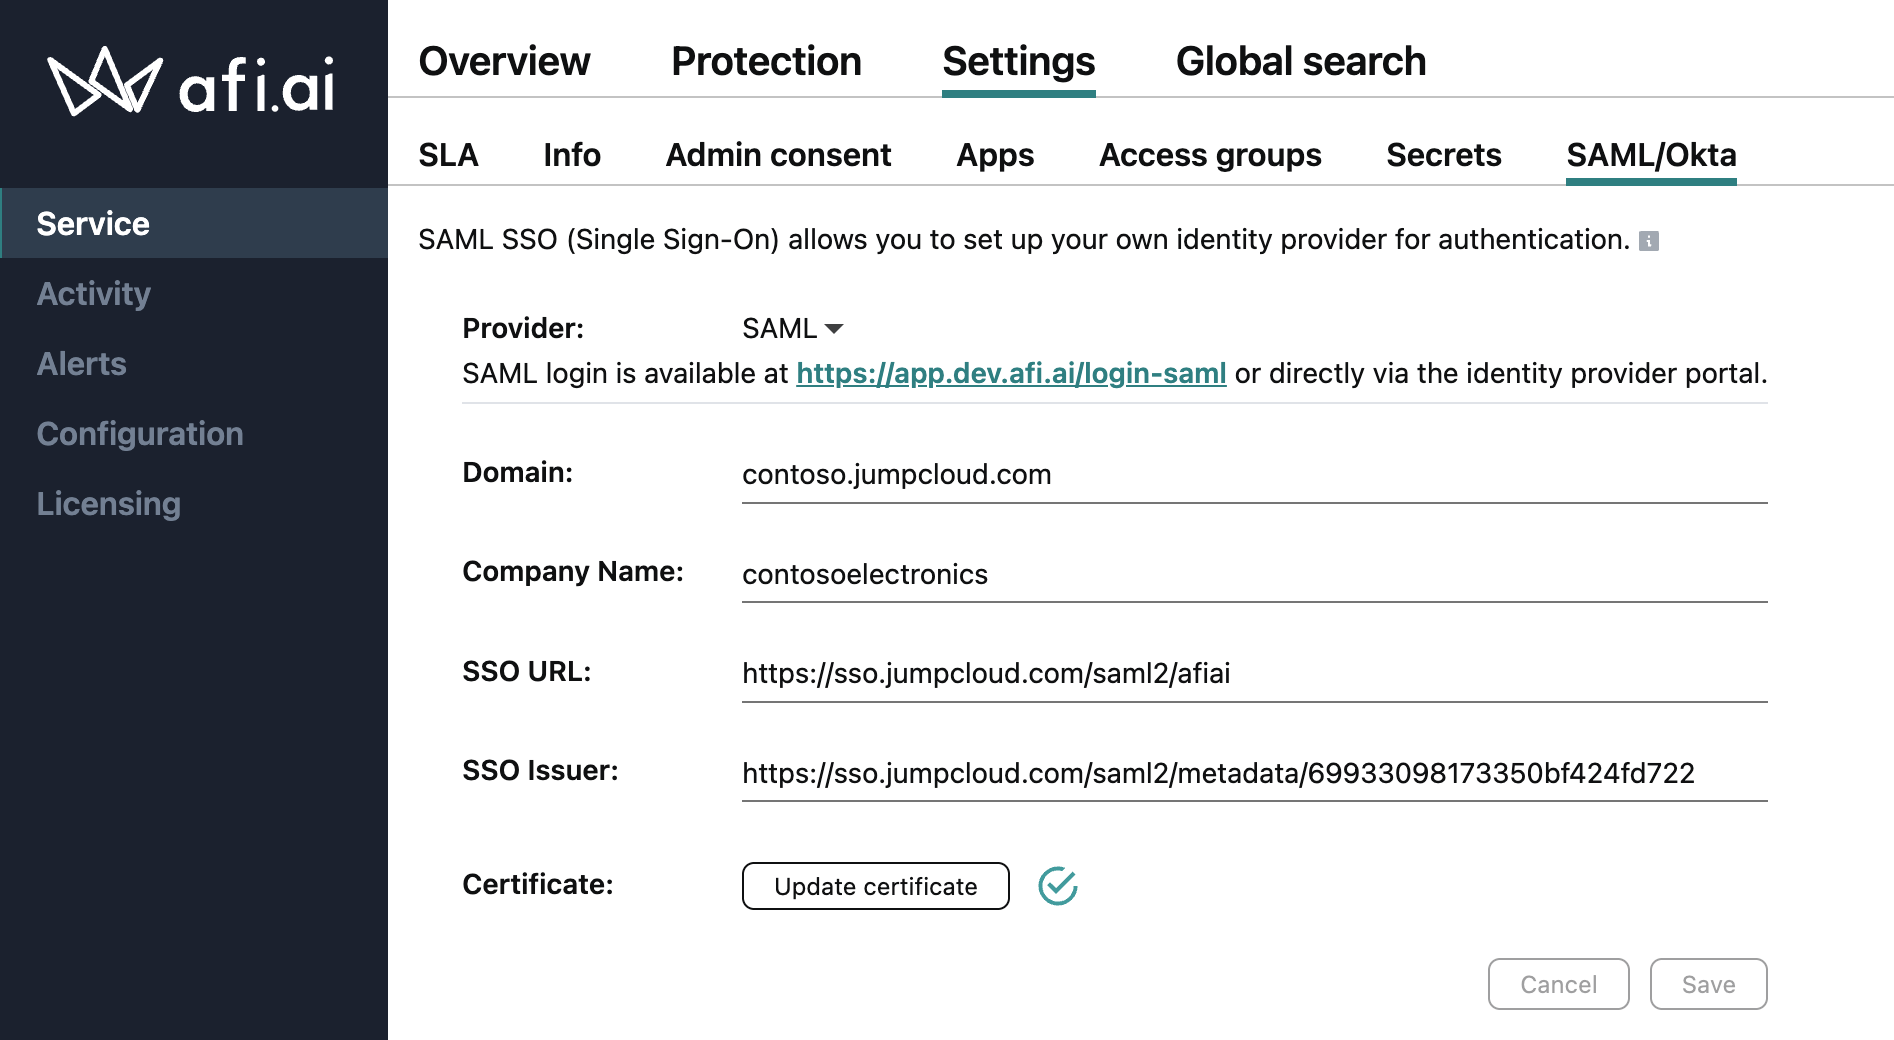
To finish SAML configuration on the Afi-side, please go to the Service → Settings → SAML/Okta tab, select the SAML provider option, and fill out the following fields:
- Domain: Your organization's identity provider domain name (for example,
<company-name>.jumpcloud.com). - Company name: Your company name.
- SSO URL: The IdP URL from the JumpCloud configuration.
- SSO Issuer: The Metadata URL from the JumpCloud application settings.
- Certificate: Upload the SAML certificate file you downloaded from the JumpCloud application settings.
Authenticate in Afi with SAML SSO
Afi supports both service provider-initiated and identity provider-initiated SAML authentication flows.
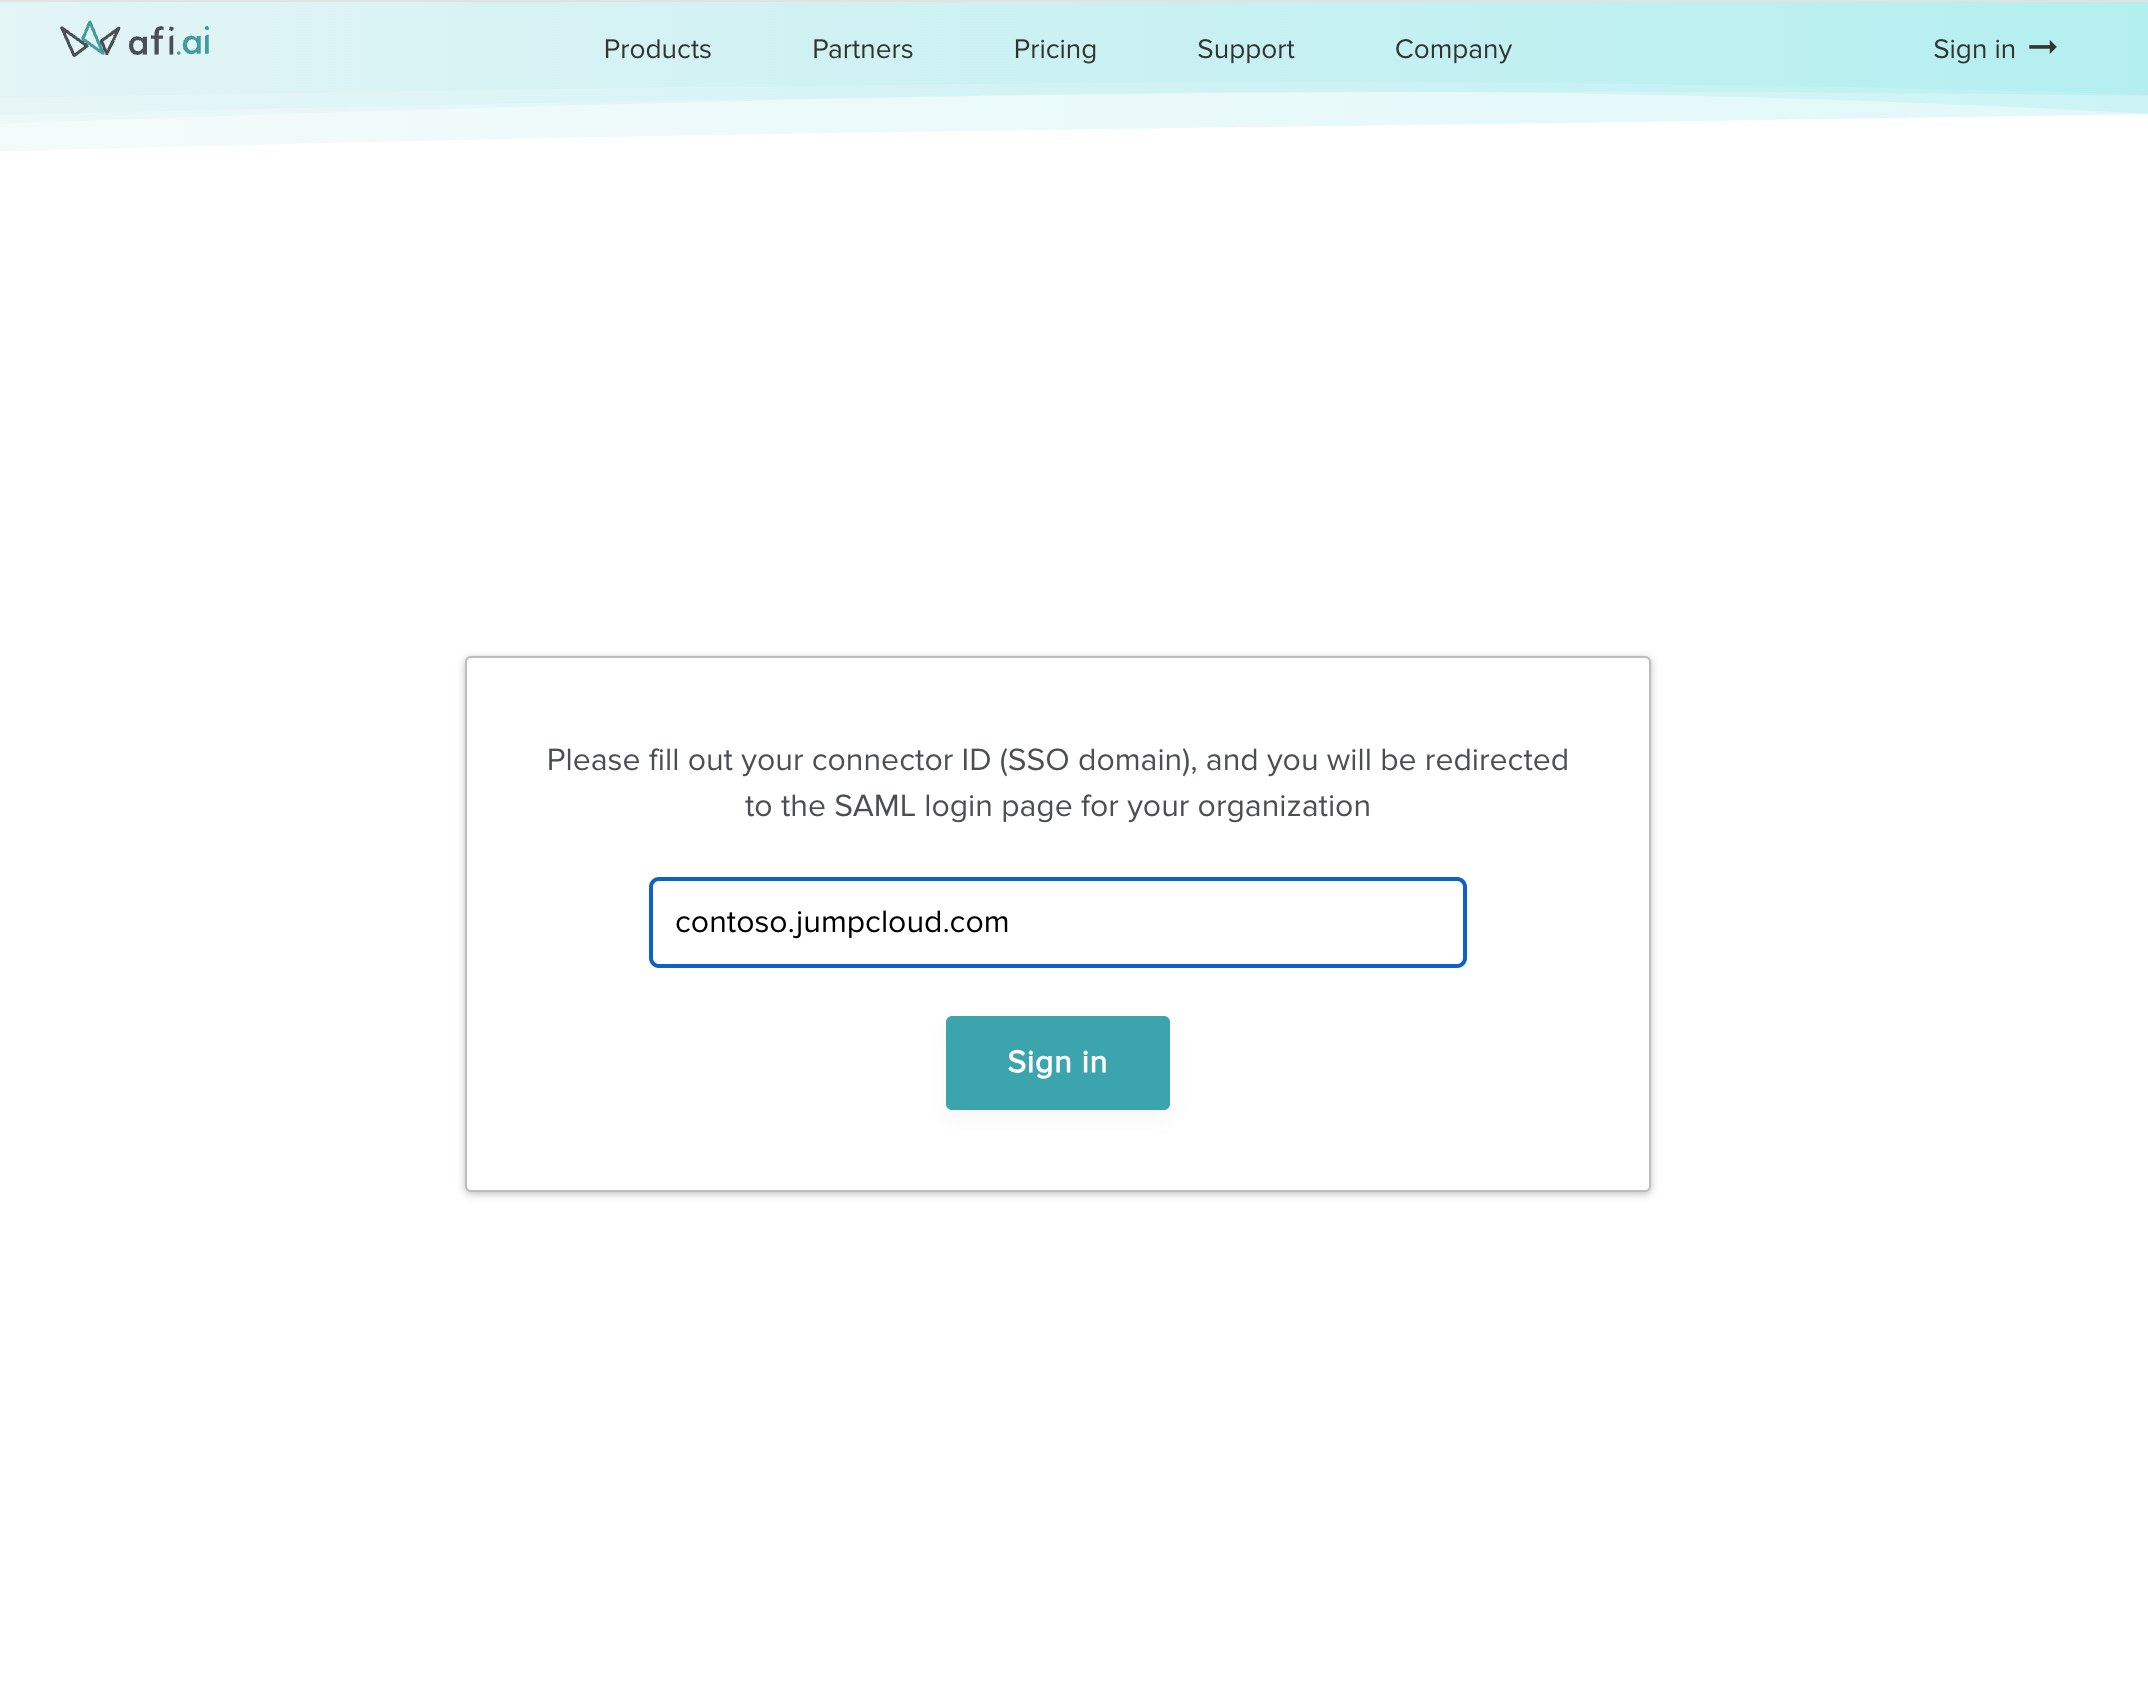
Service provider-initiated flow
The service provider-initiated flow starts on the custom Afi login screen for SAML SSO. Users are prompted to enter their connector ID (identity provider domain) and then proceed with authentication. Upon successful authentication, users will be redirected to the Afi portal.
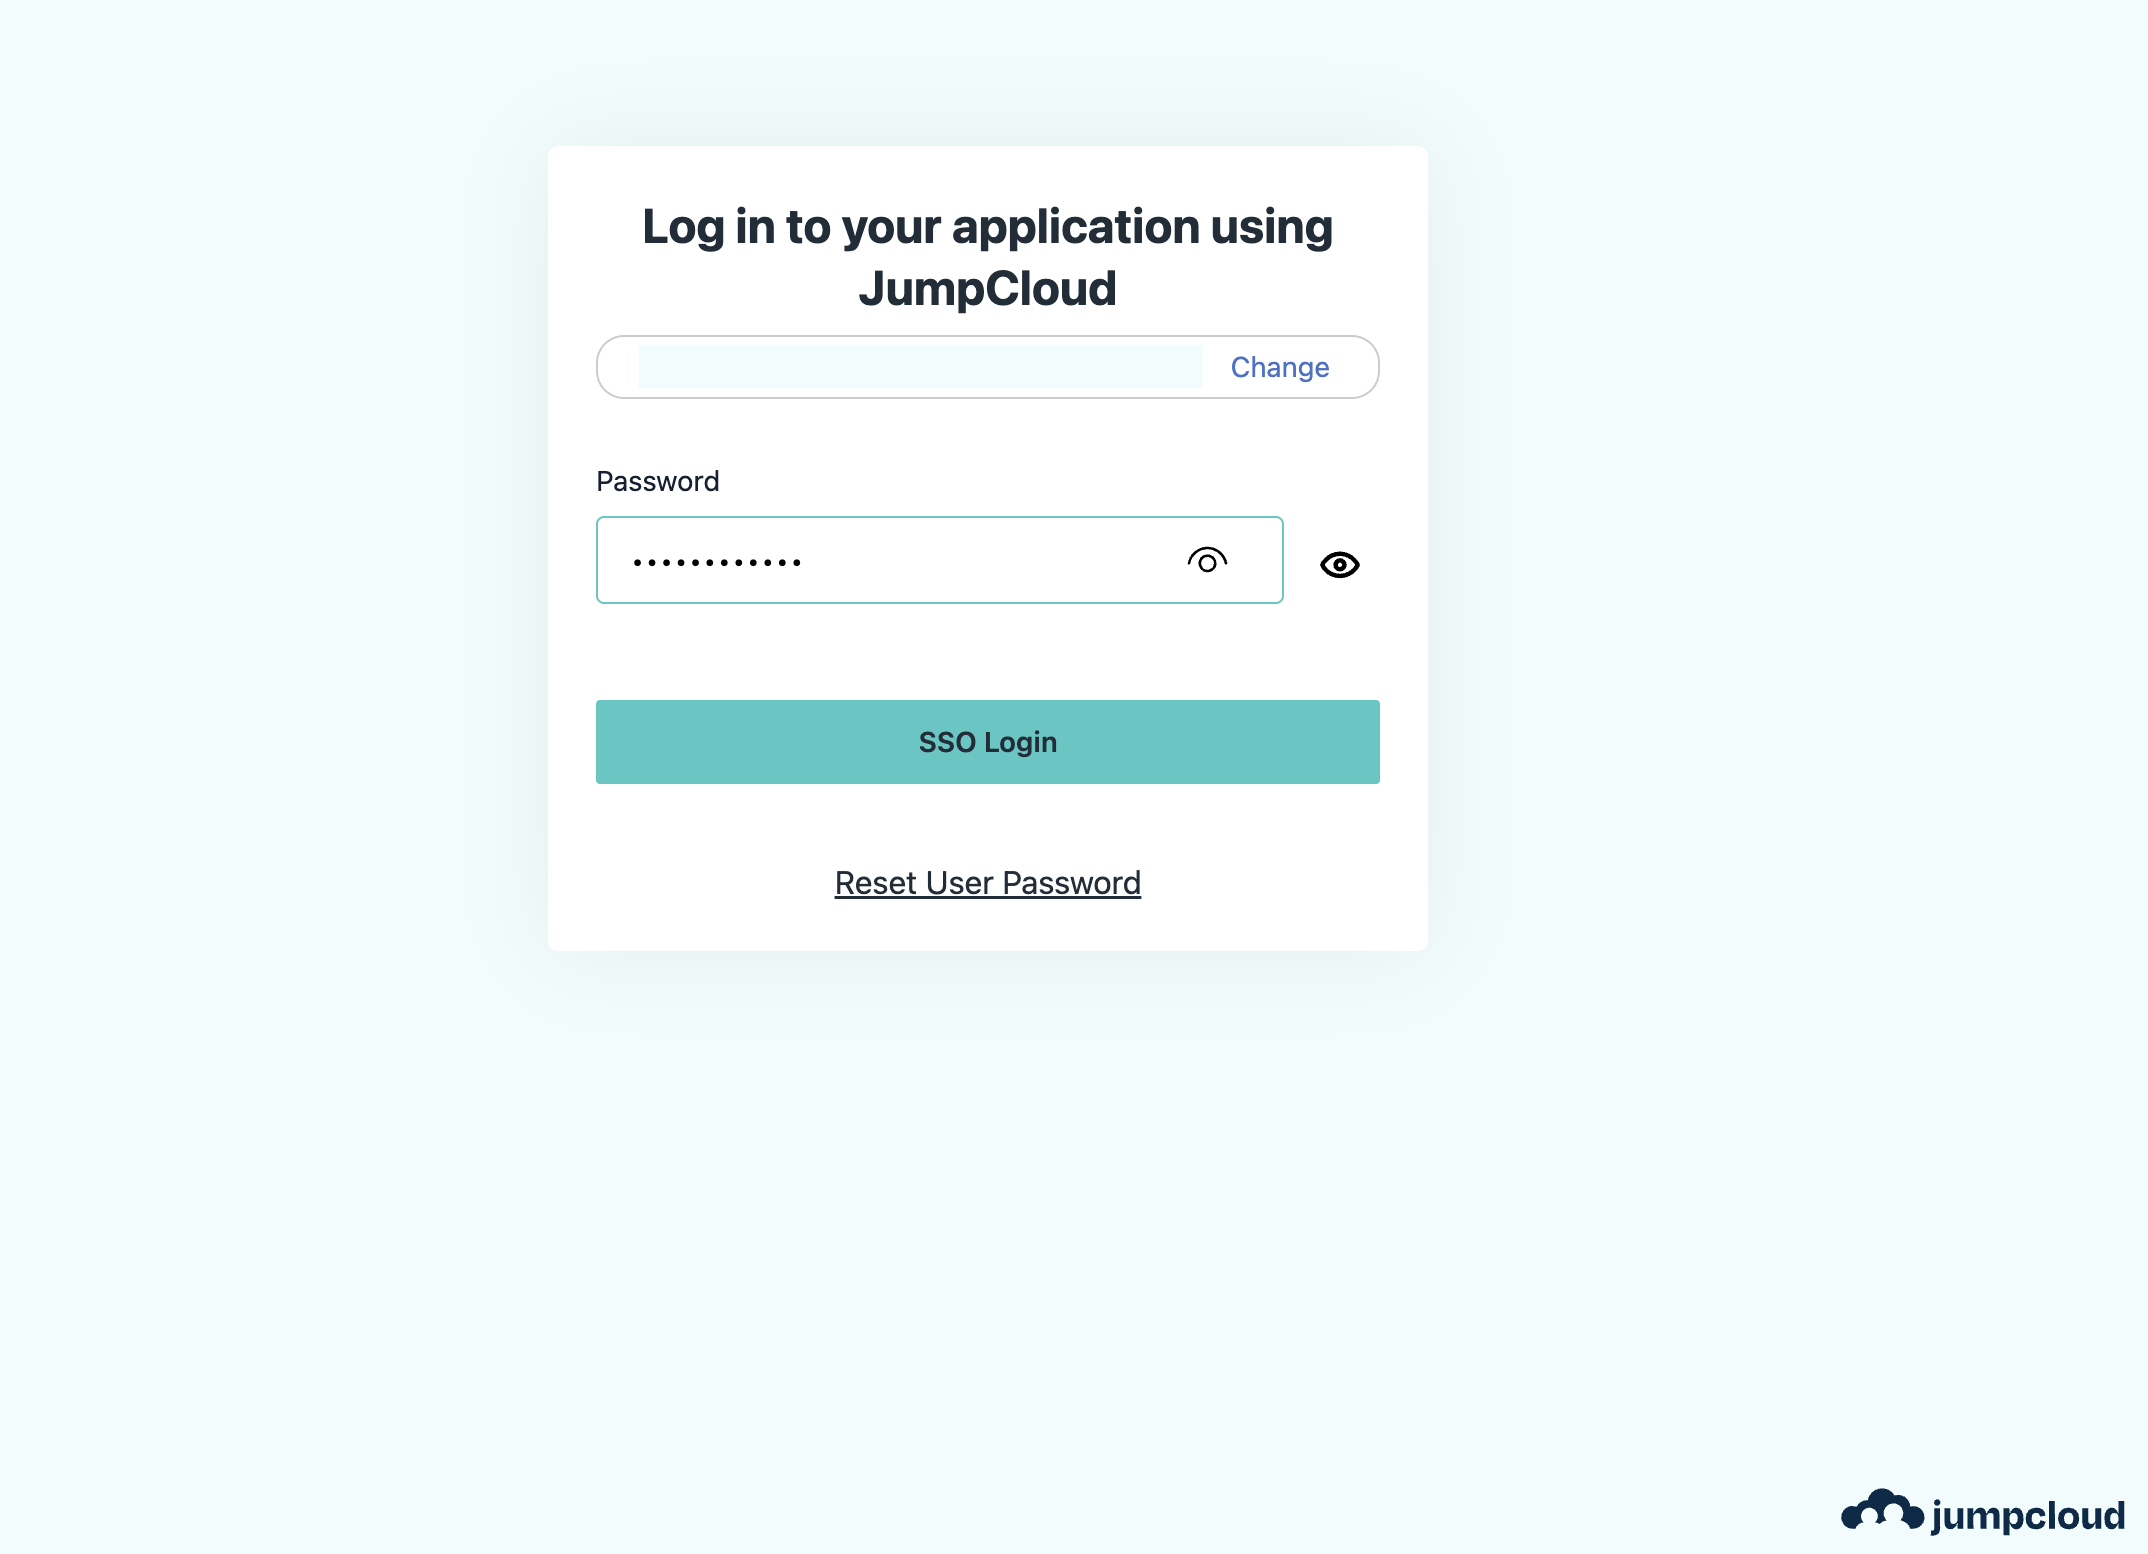
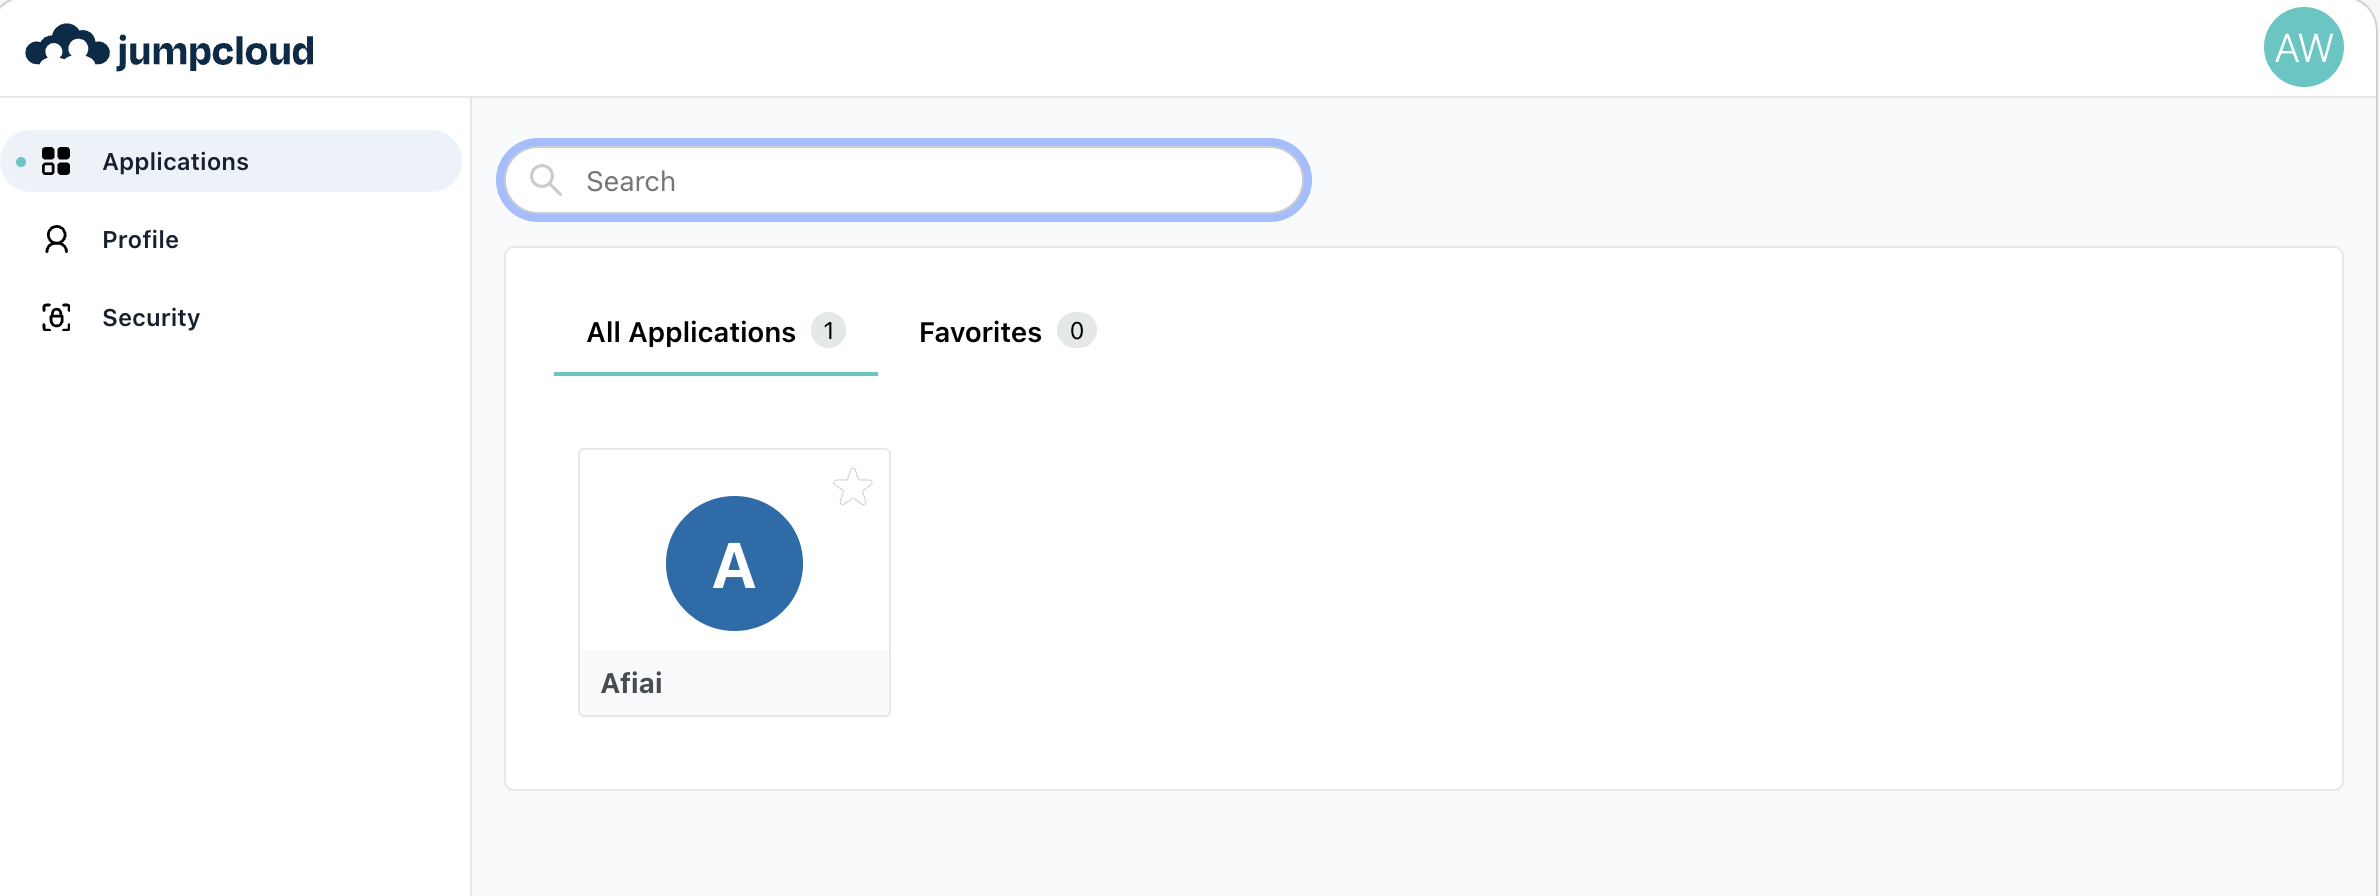
Identity provider-initiated flow
To access the Afi portal via the JumpCloud end-user portal, click the Afi application tile to be redirected to the Afi portal.